 ENG
ENG
Vendor registration is a must in multivendor site since it allows you to register in a seamless manner and also allows you to do your business independently. In this section, we will discuss the steps on how to become a seller on BSMe2e.
A user who wants to become a vendor will need to select on the ‘Register’ option as shown. You will find a host of plans designed for the sellers. Here’s a look of the membership plans. We have four plans:
There are no subscription charges for the Basic Plan. The seller needs to pay for the store space and 5%* will be charged by BSMe2e as a merchant services payment processing fee. This plan comes with limited features. So if you want to enjoy premium features like higher storage space or want to add more products and articles, manage deliveries, etc., then you need to upgrade your plans to Silver, Gold, or Premium depending on your budget and business needs. BSMe2e will charge you only for the digital store space and the subscription package which is recurring. No commissions are charged for sale of your products and services. You need to pay just 5% merchant services payment processing fee.
*5%: Rates are updated as per market standards and subjected to change based on the merchant services payment processing charges.
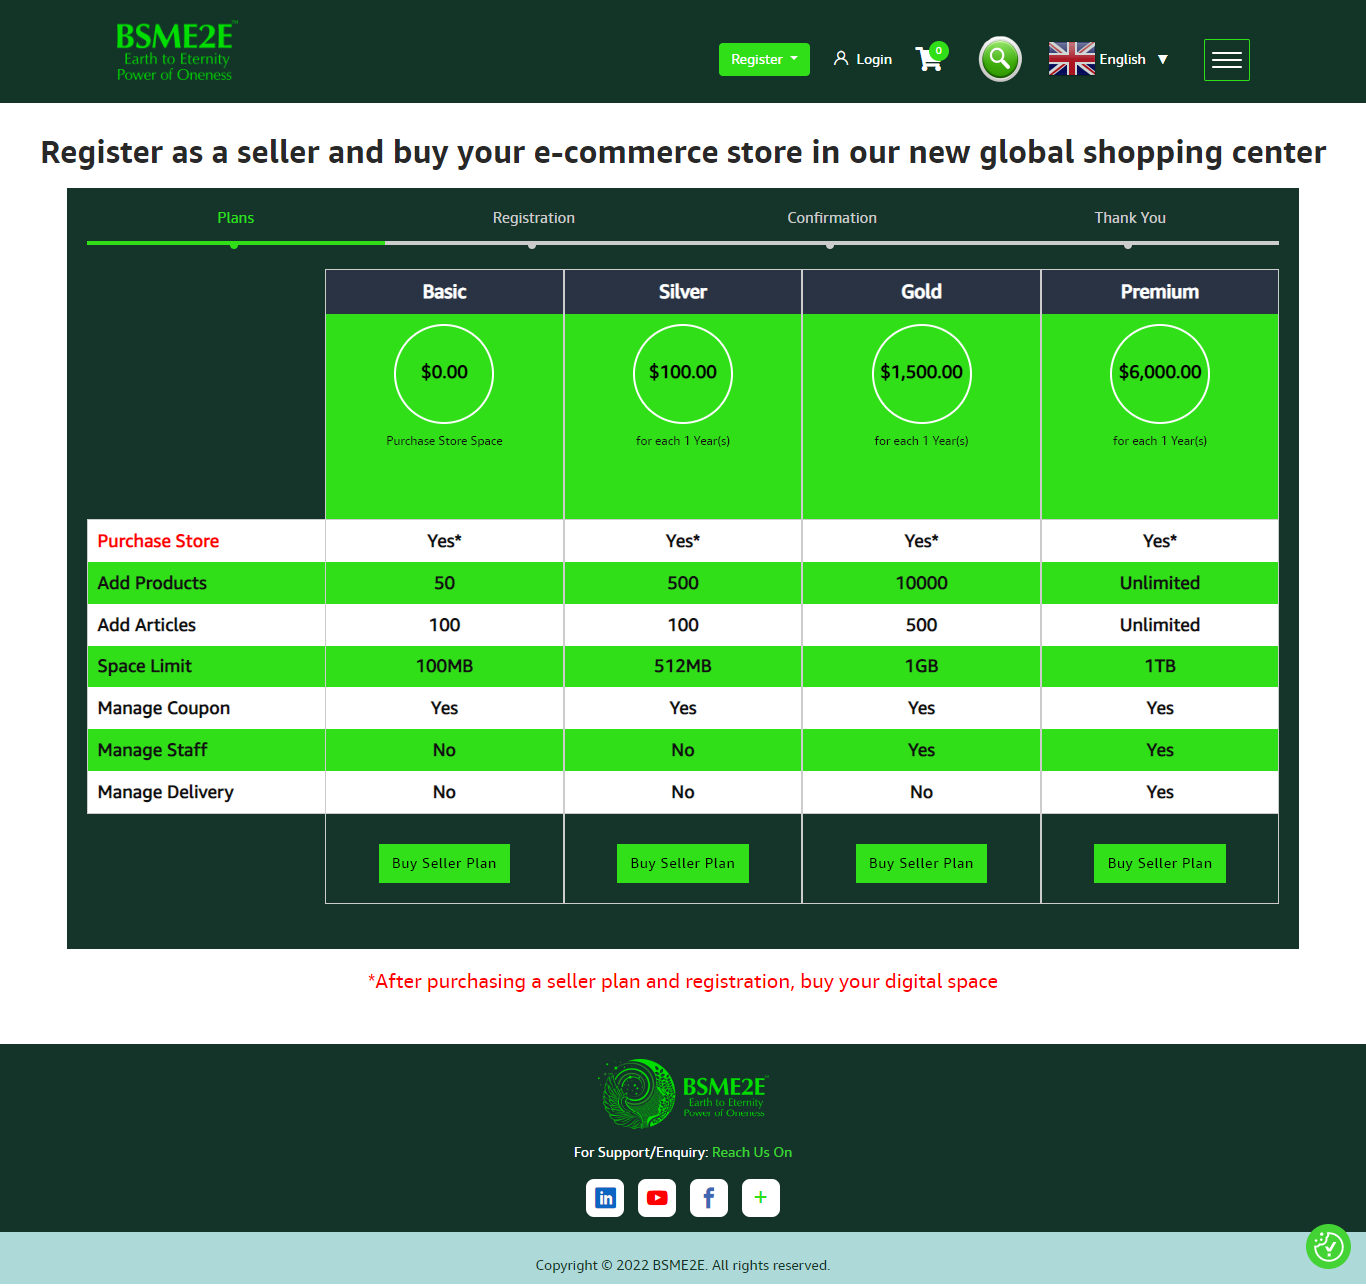
Choose the plan accordingly. Each of the plans come with different features and functionalities. Based on your budget and business requirement, select the package.
After selecting the plan, you will see a form with additional fields.
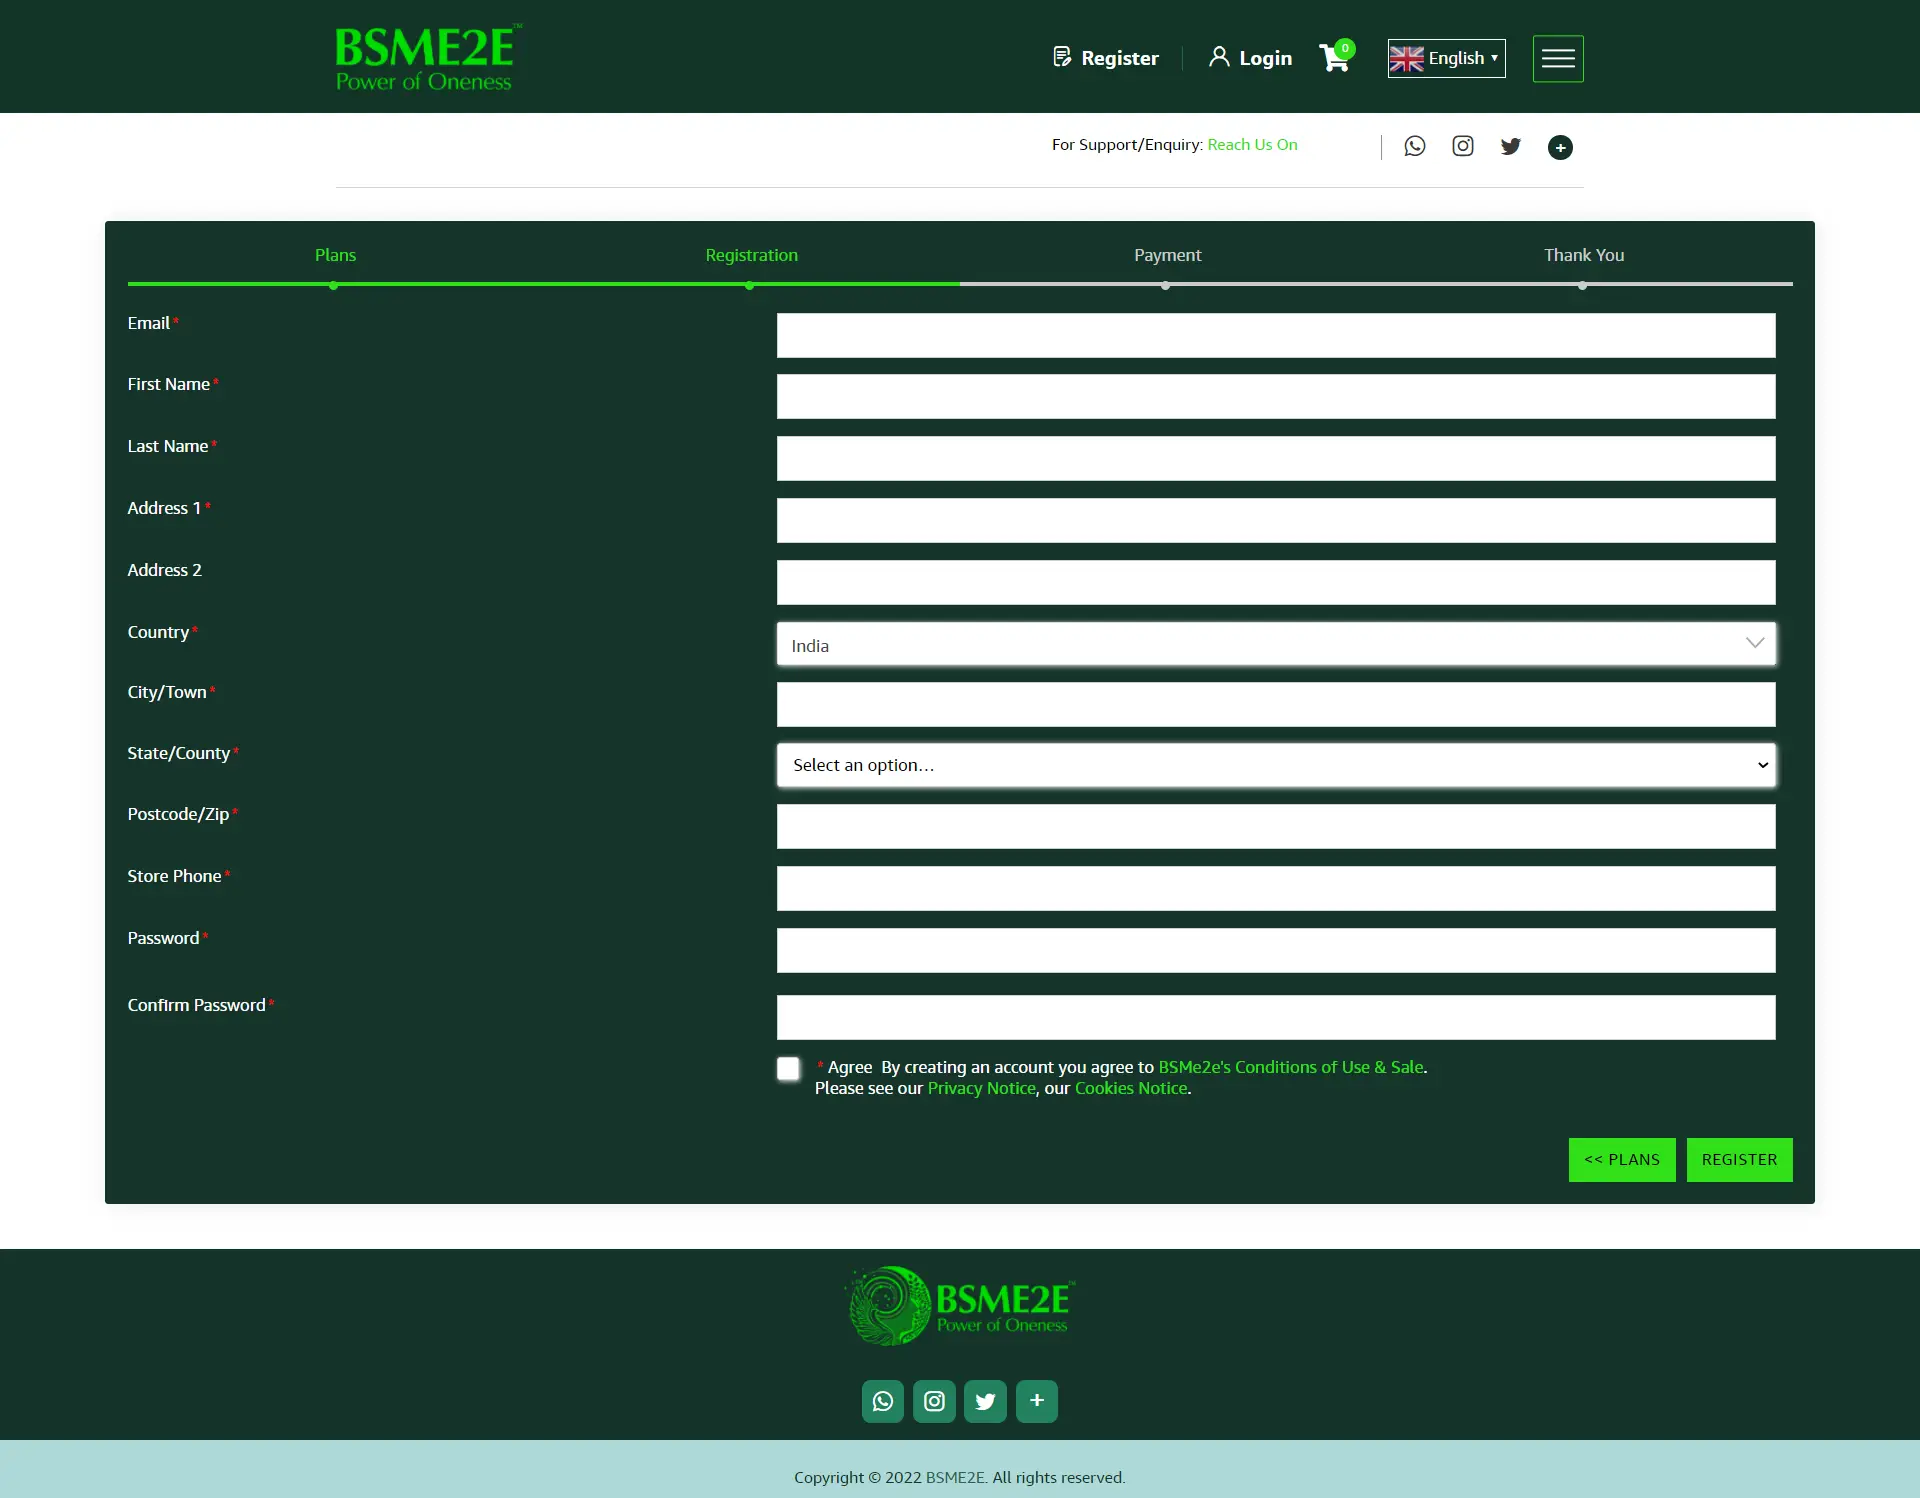
Fill all the details as shown below. Make sure the information you enter is accurate and true.
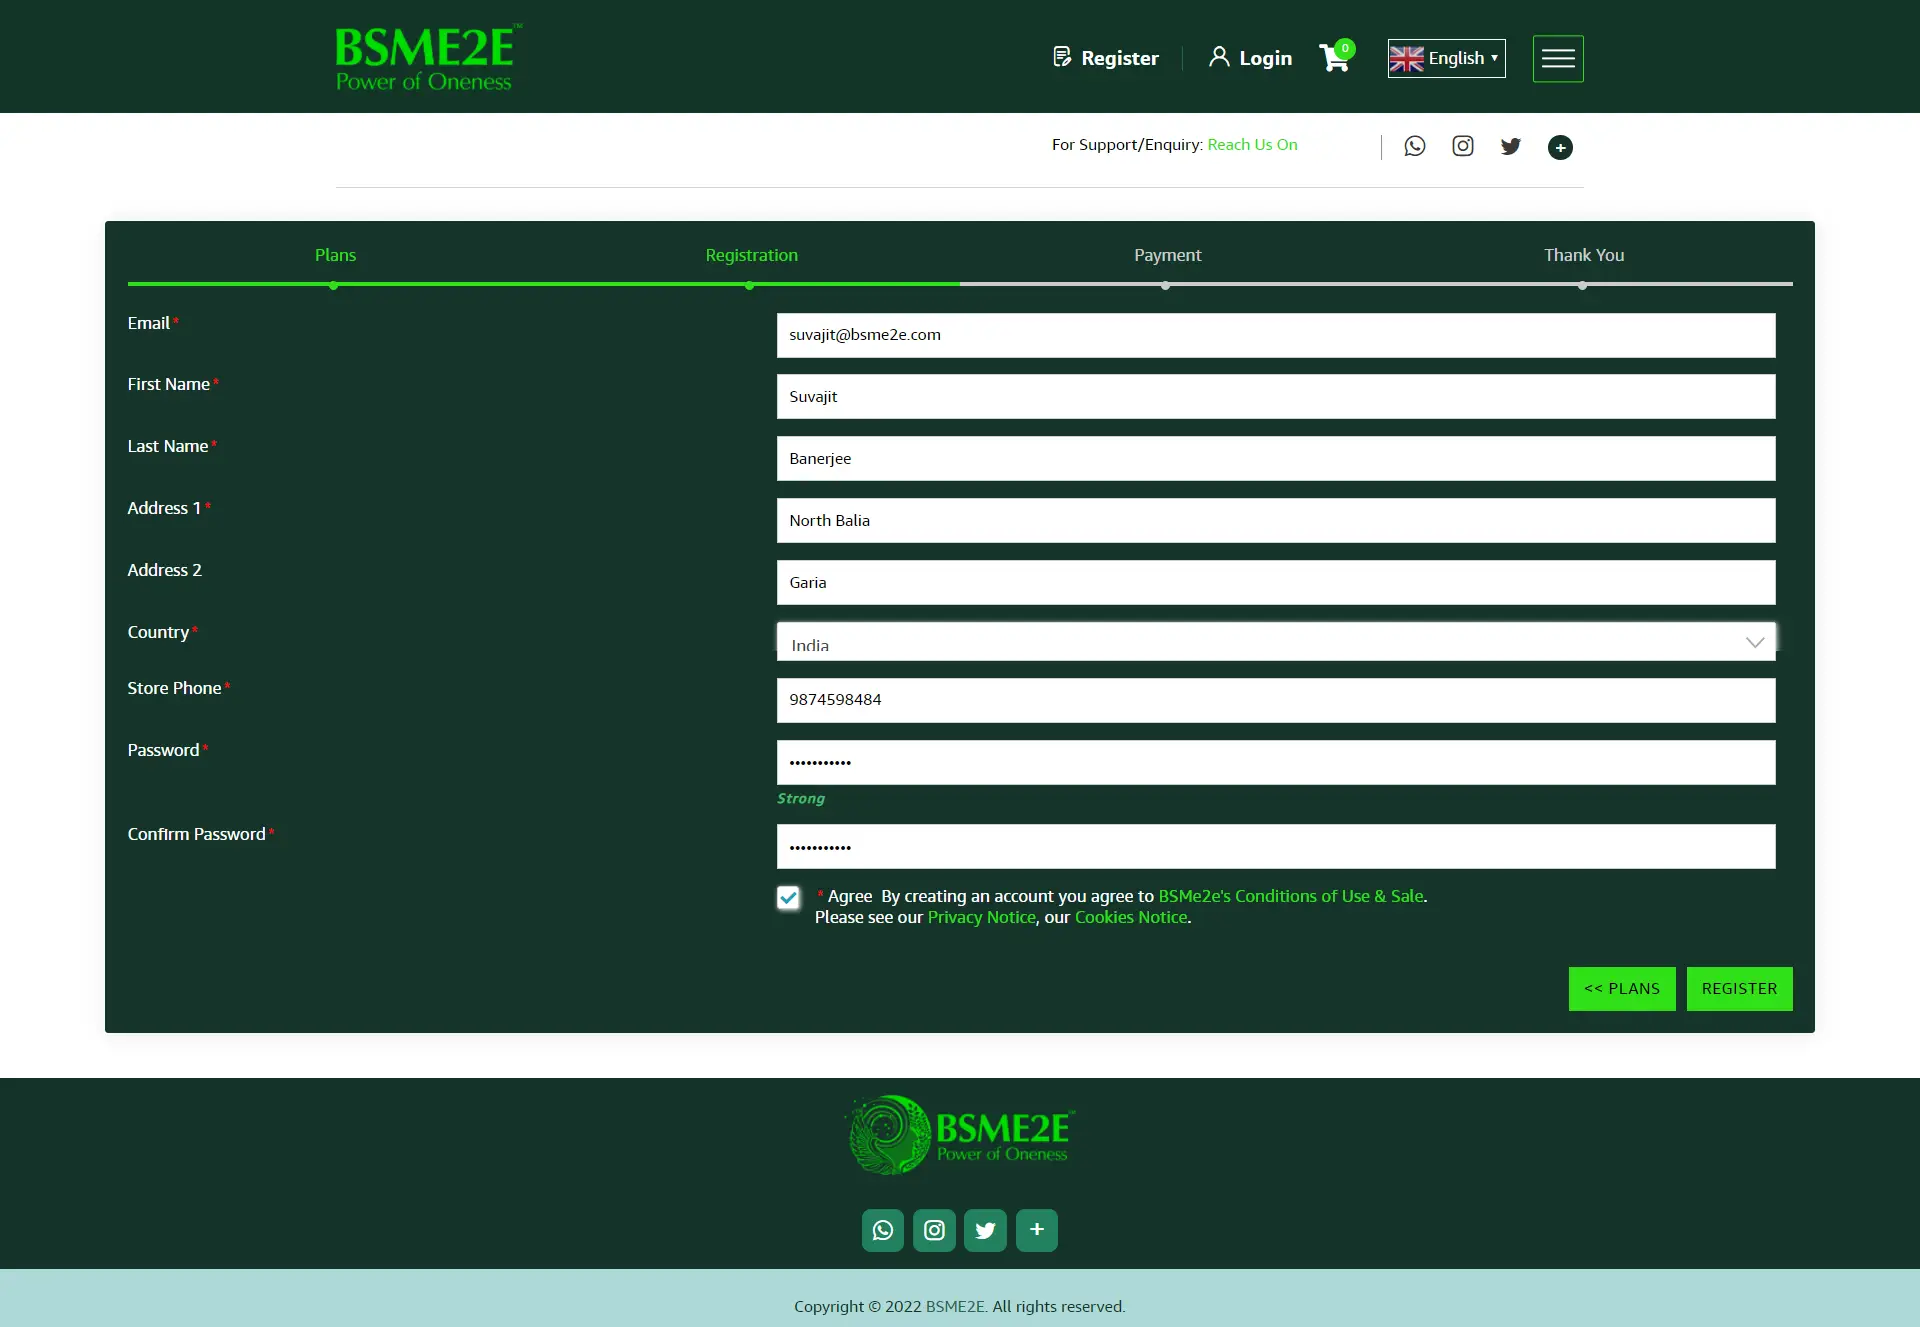
Next, you will be redirected to the payments page where you can see the package that you’ve selected and the features that comes along with it. To complete the transaction, you need to choose the credit or debit card option.

You’ll be redirected to the page shown below. Add your card details to complete the transaction.

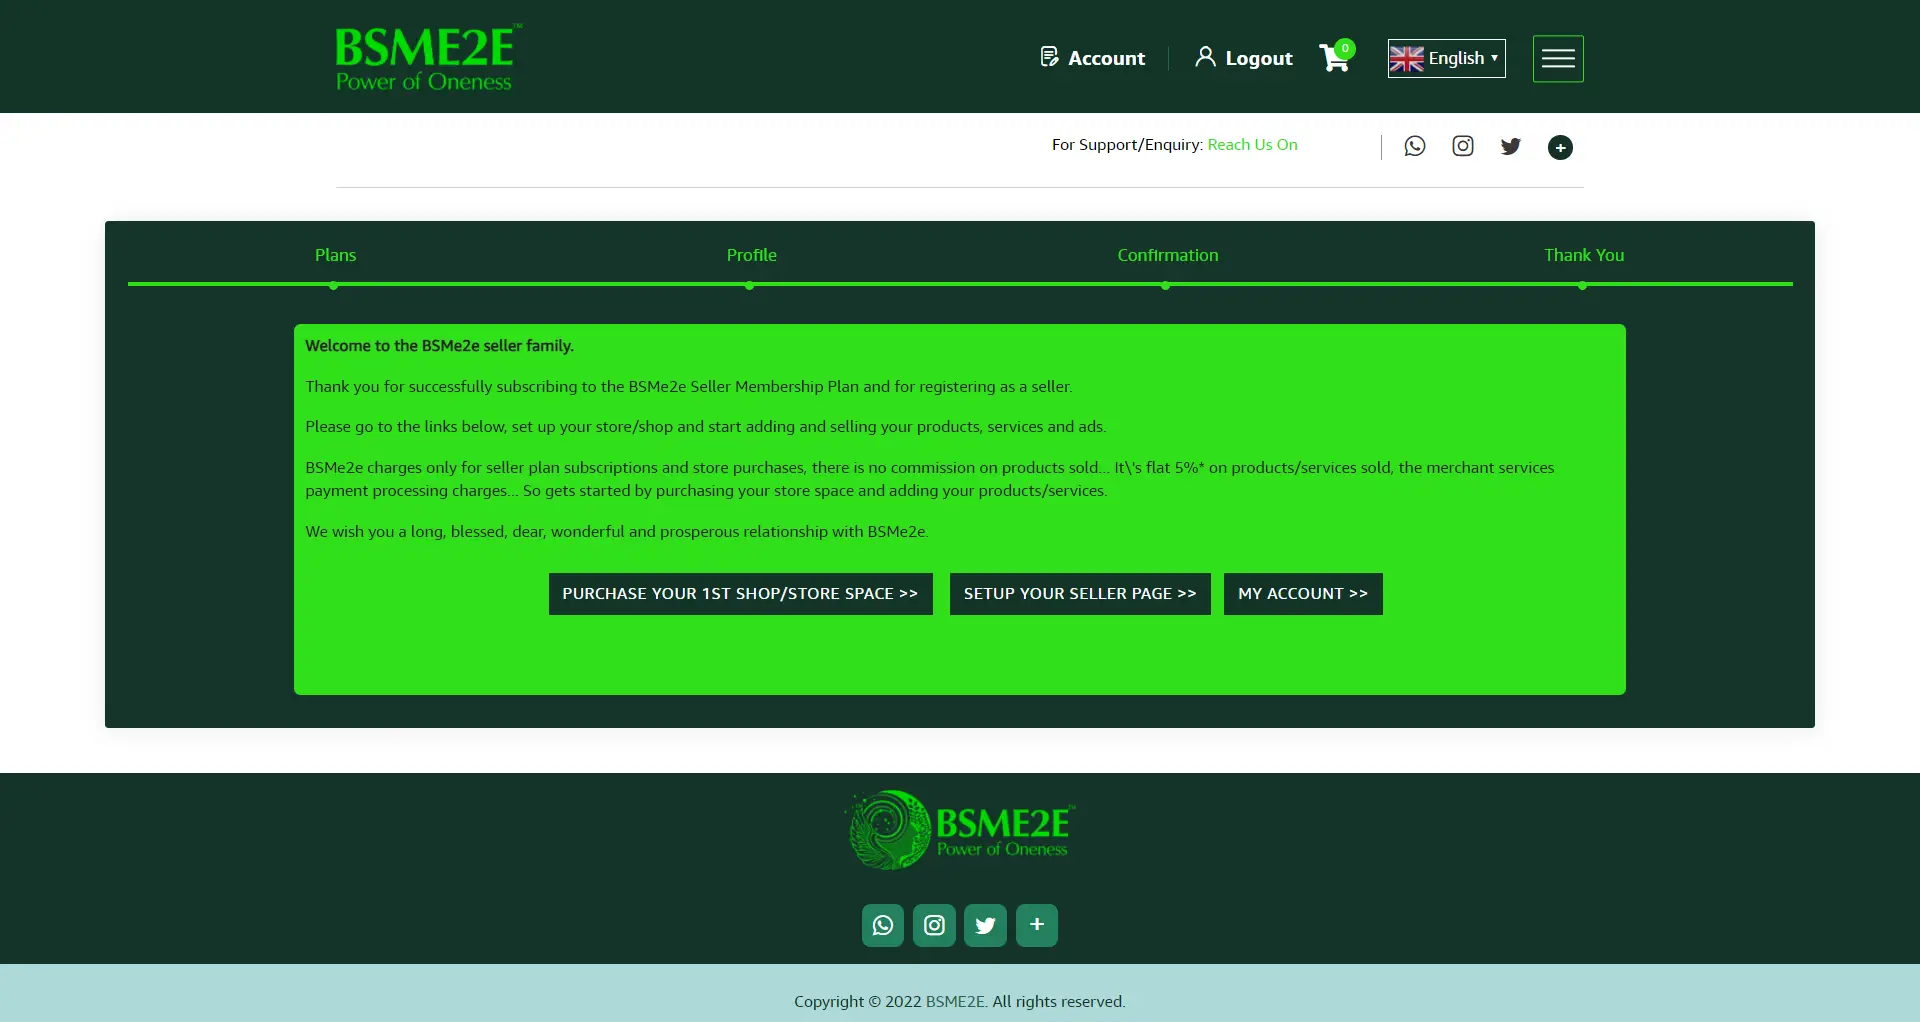
If the transaction is successful, your registration will be complete as shown below. Once your registration process is done; it’s time to purchase your store space. We shall discuss the steps at the end.

Now you’ll be given three options – ‘Purchase your 1st Shop/Store Space’, ‘Go to Dashboard’, and ‘Setup your Store’. To know more about this process, refer to our guide manuals.
Sellers need to begin with purchasing their store space. Note that we have a wide range of store categories as well. When you choose each of the store, you’ll be able to see the categories as well. Select the relevant category and the store that you wish to purchase. So once you are on this ‘welcome’ page, you need to start with choosing the option ‘Purchase Your 1st Shop/Store Space’.
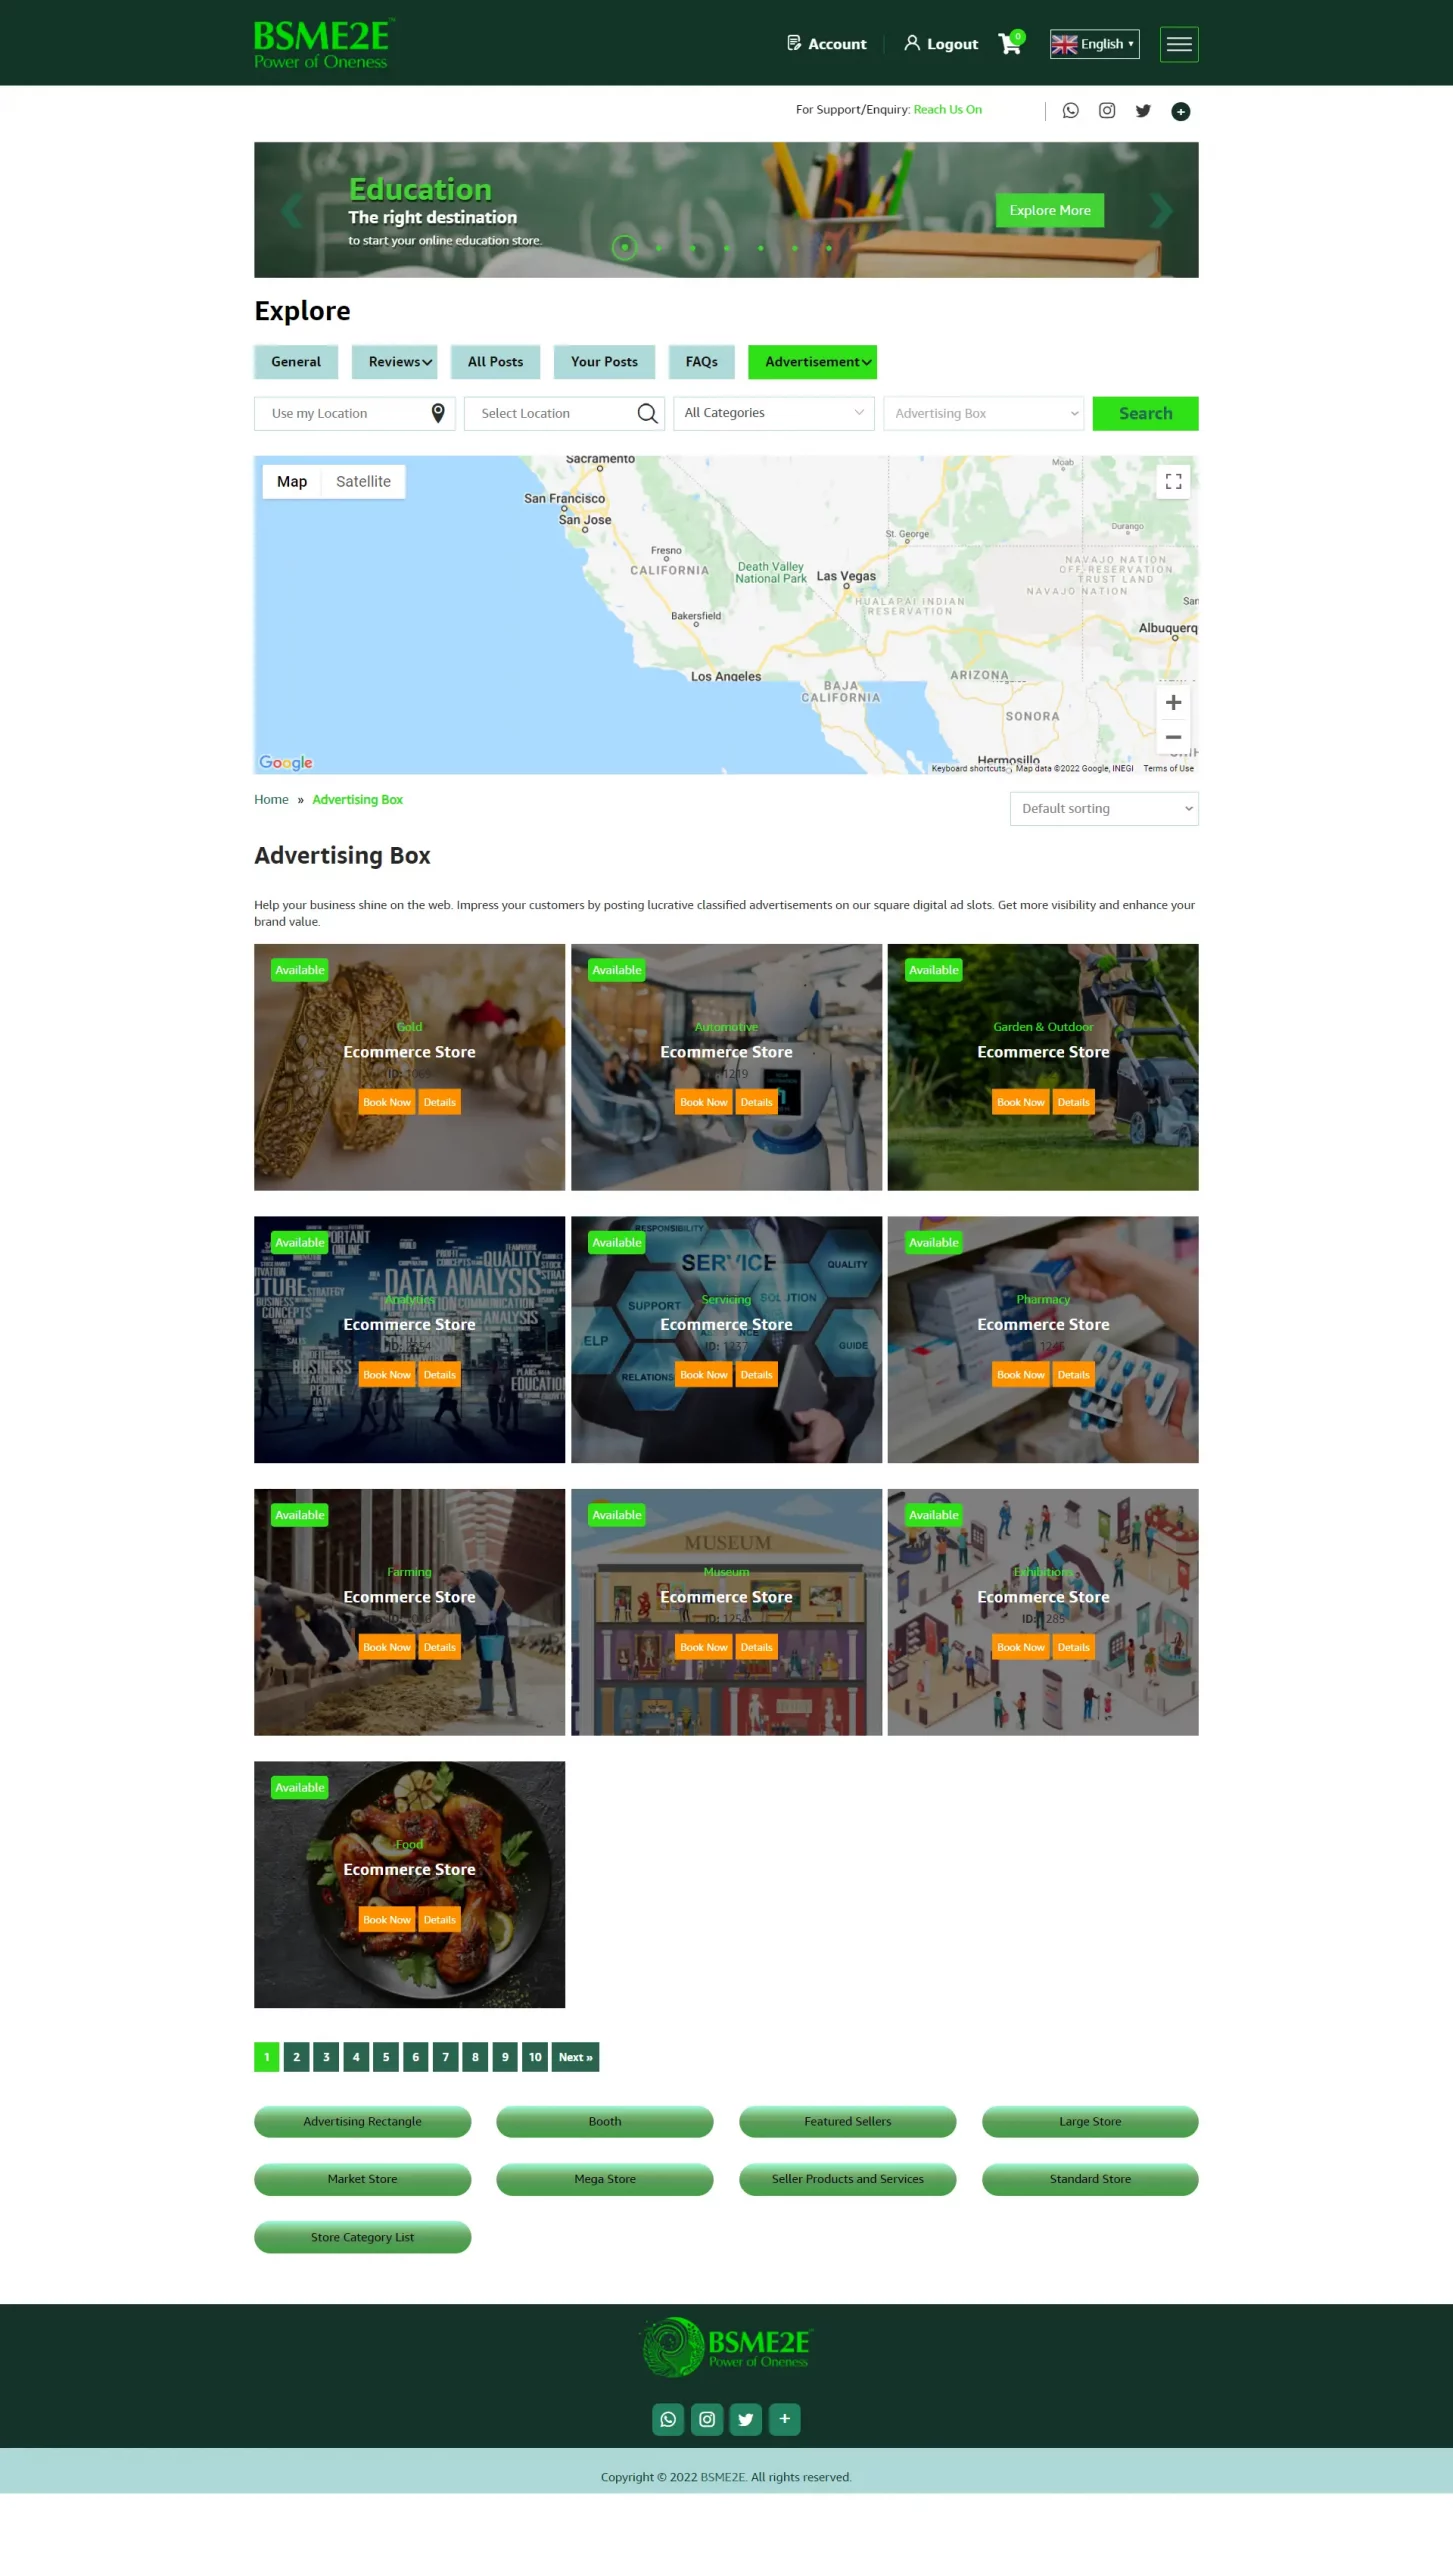
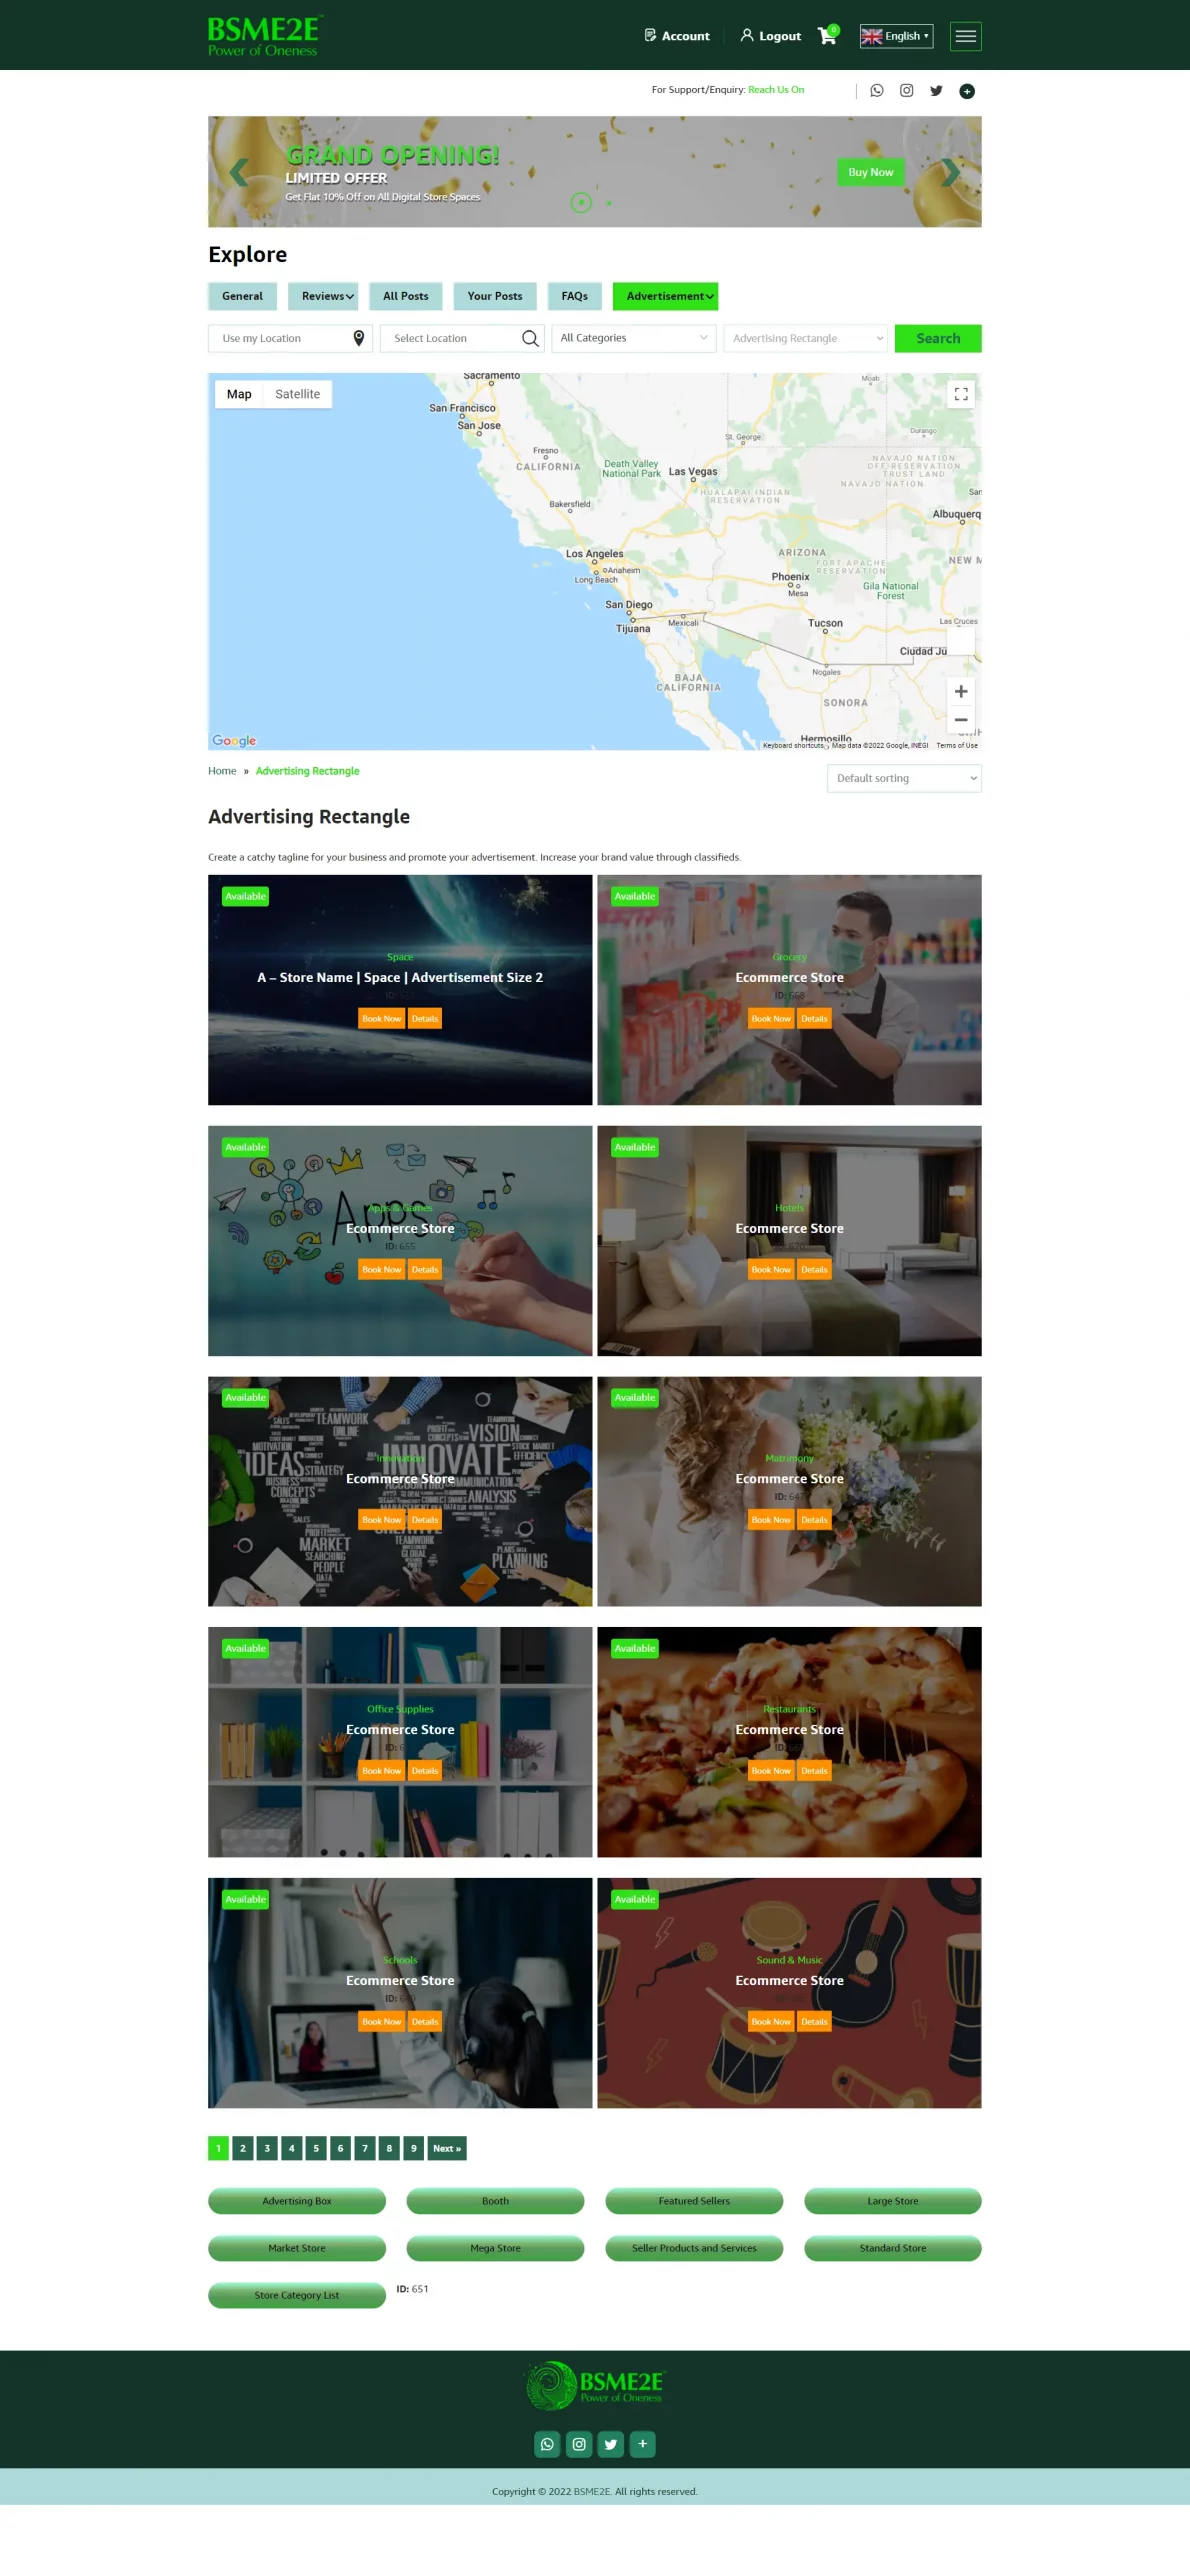
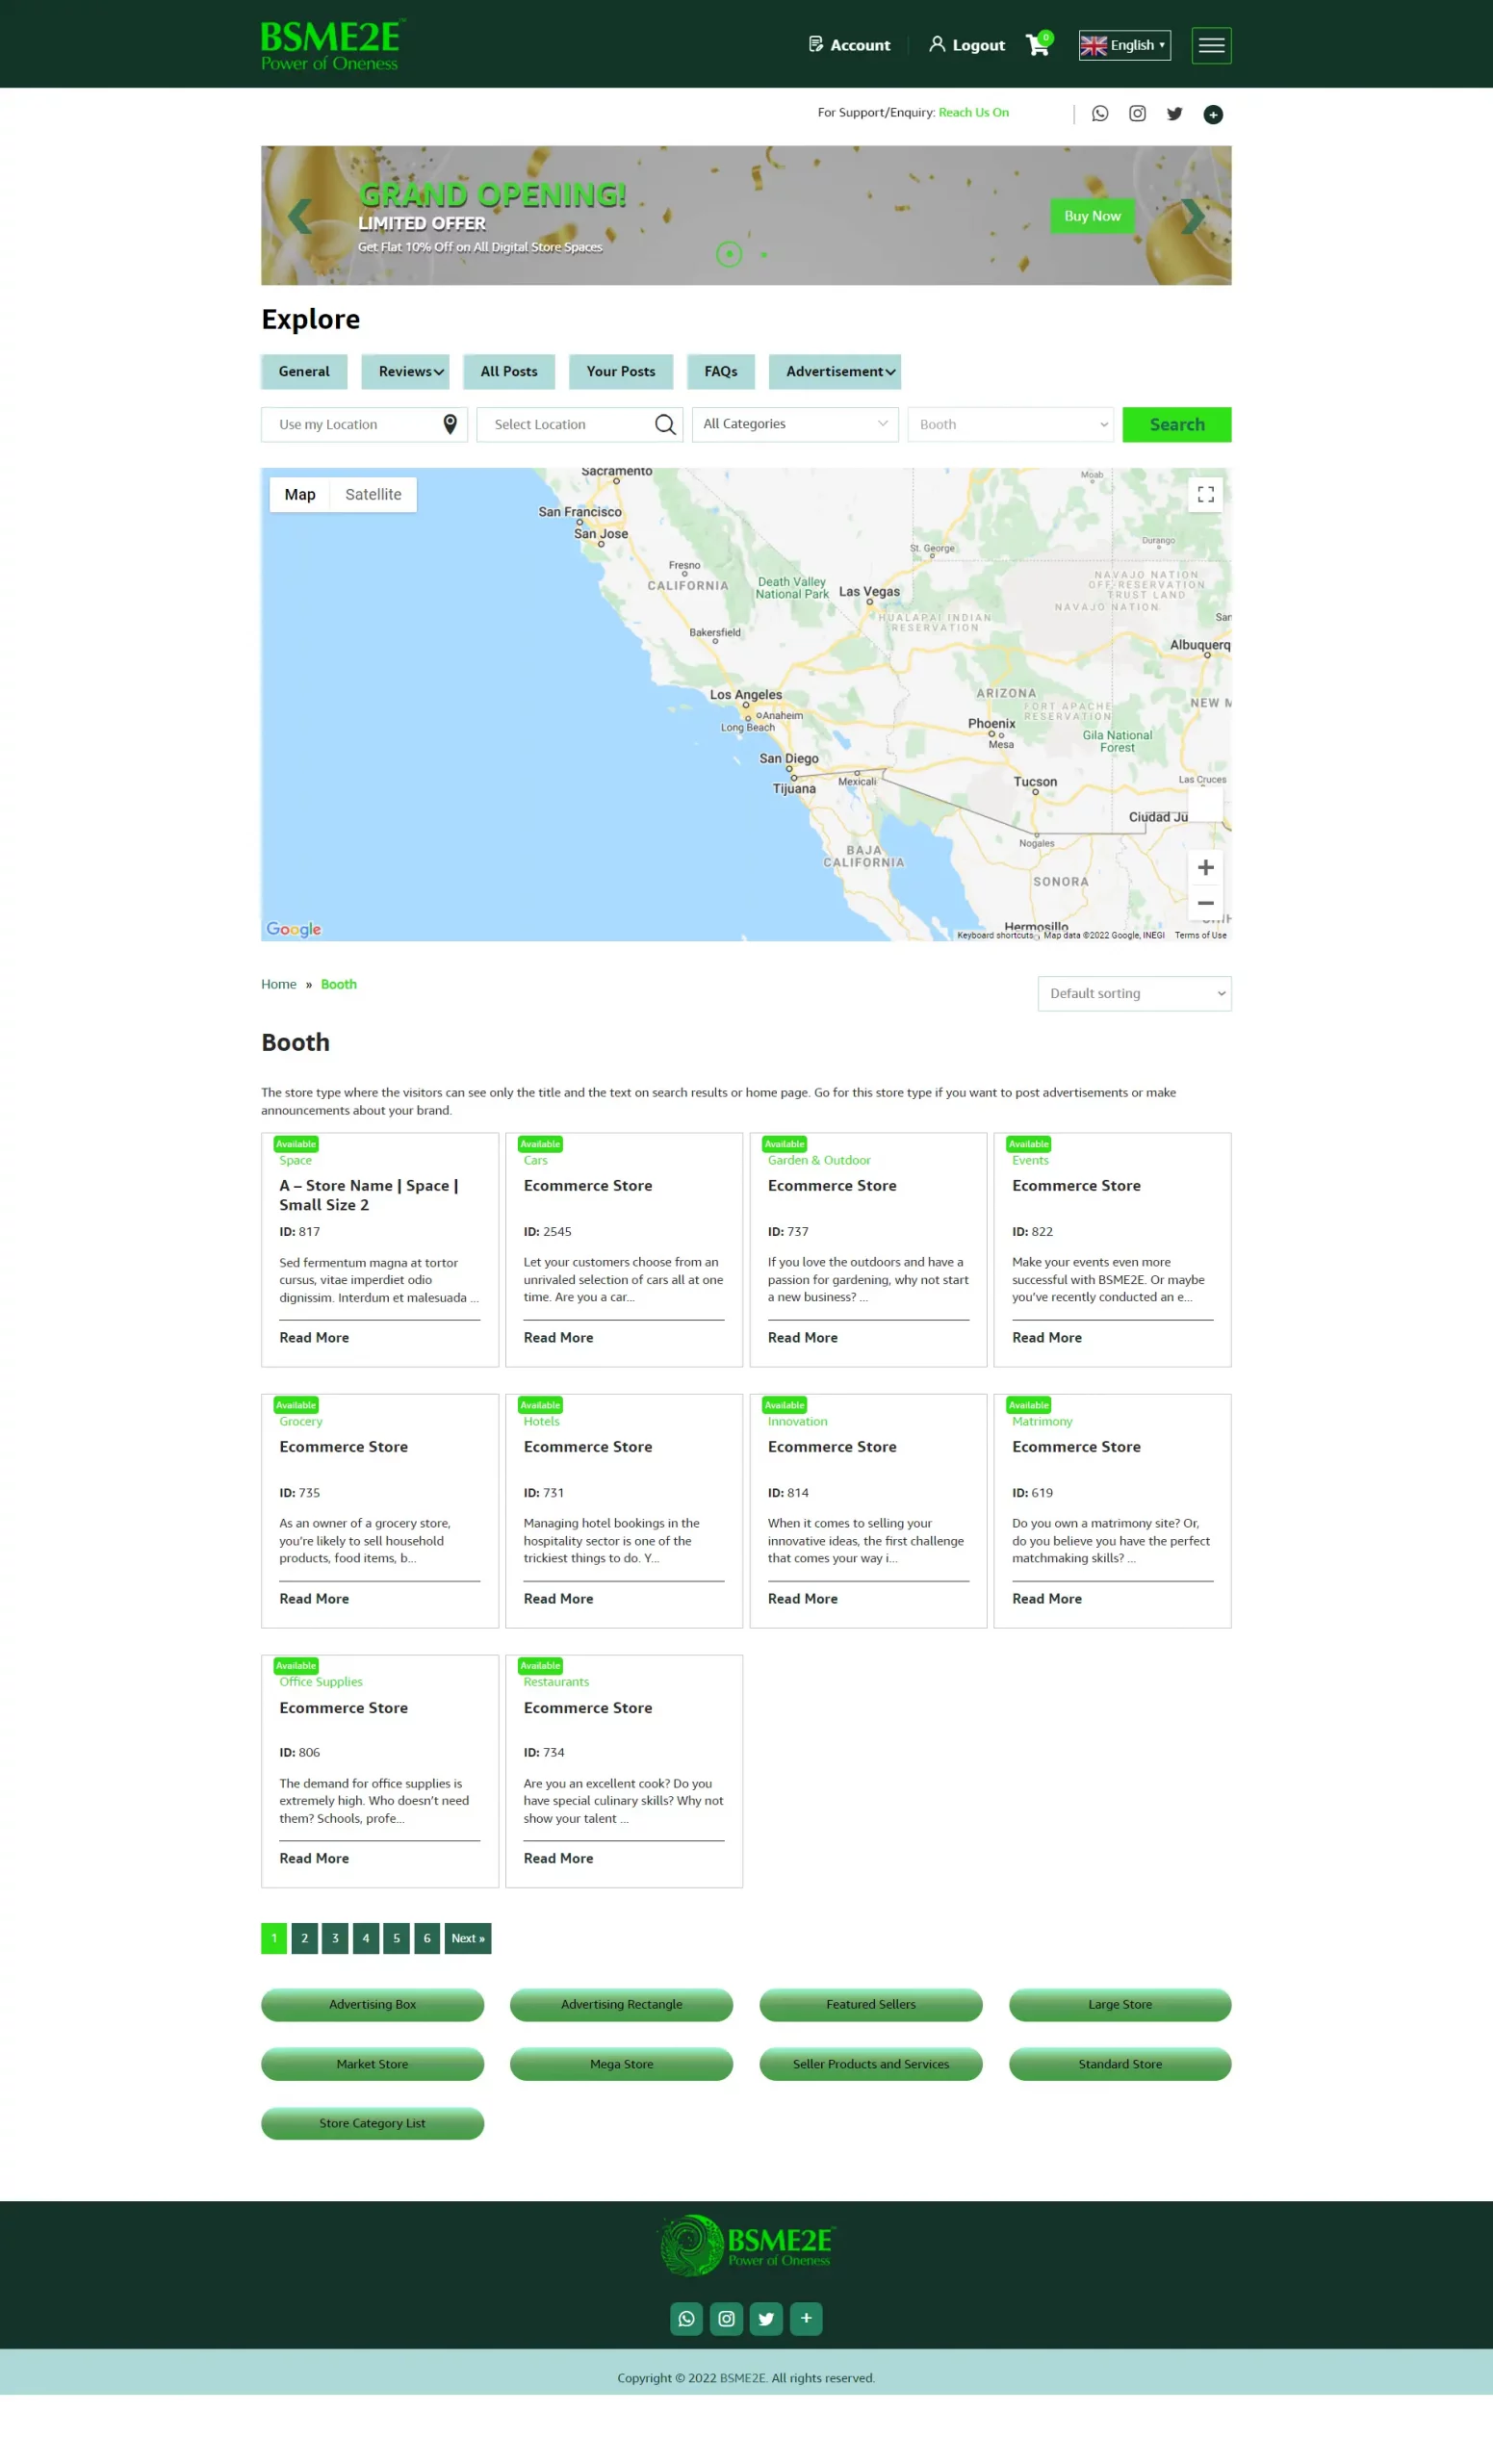
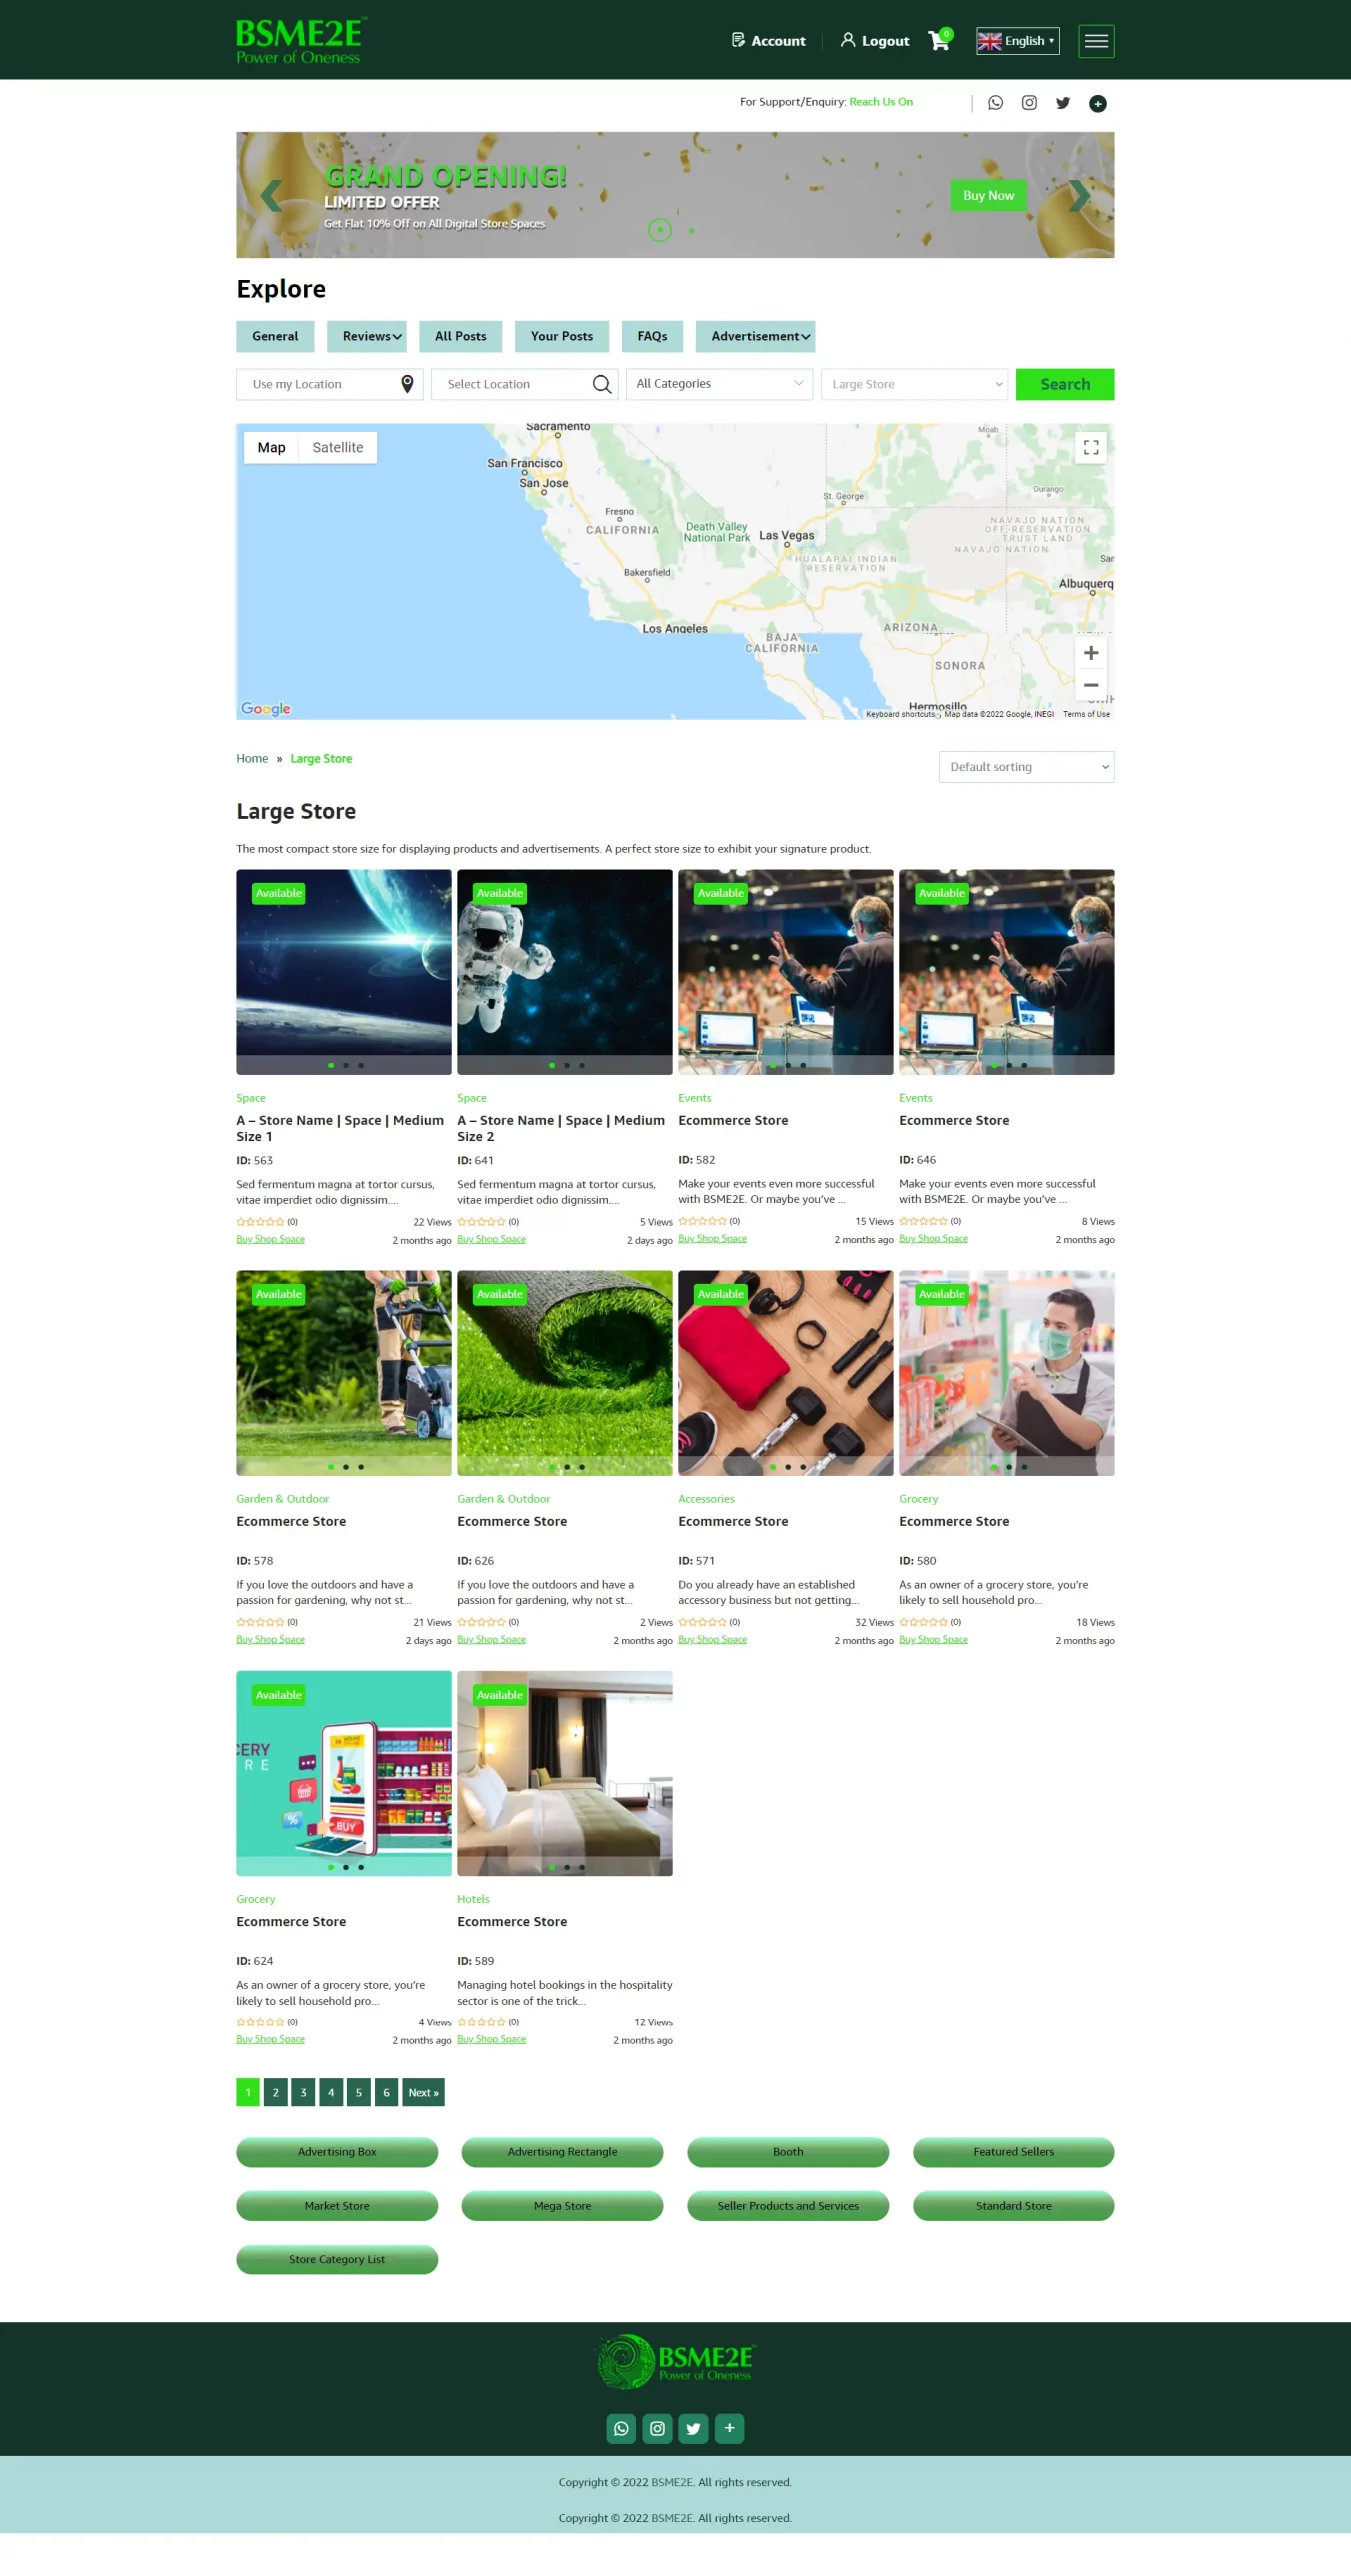
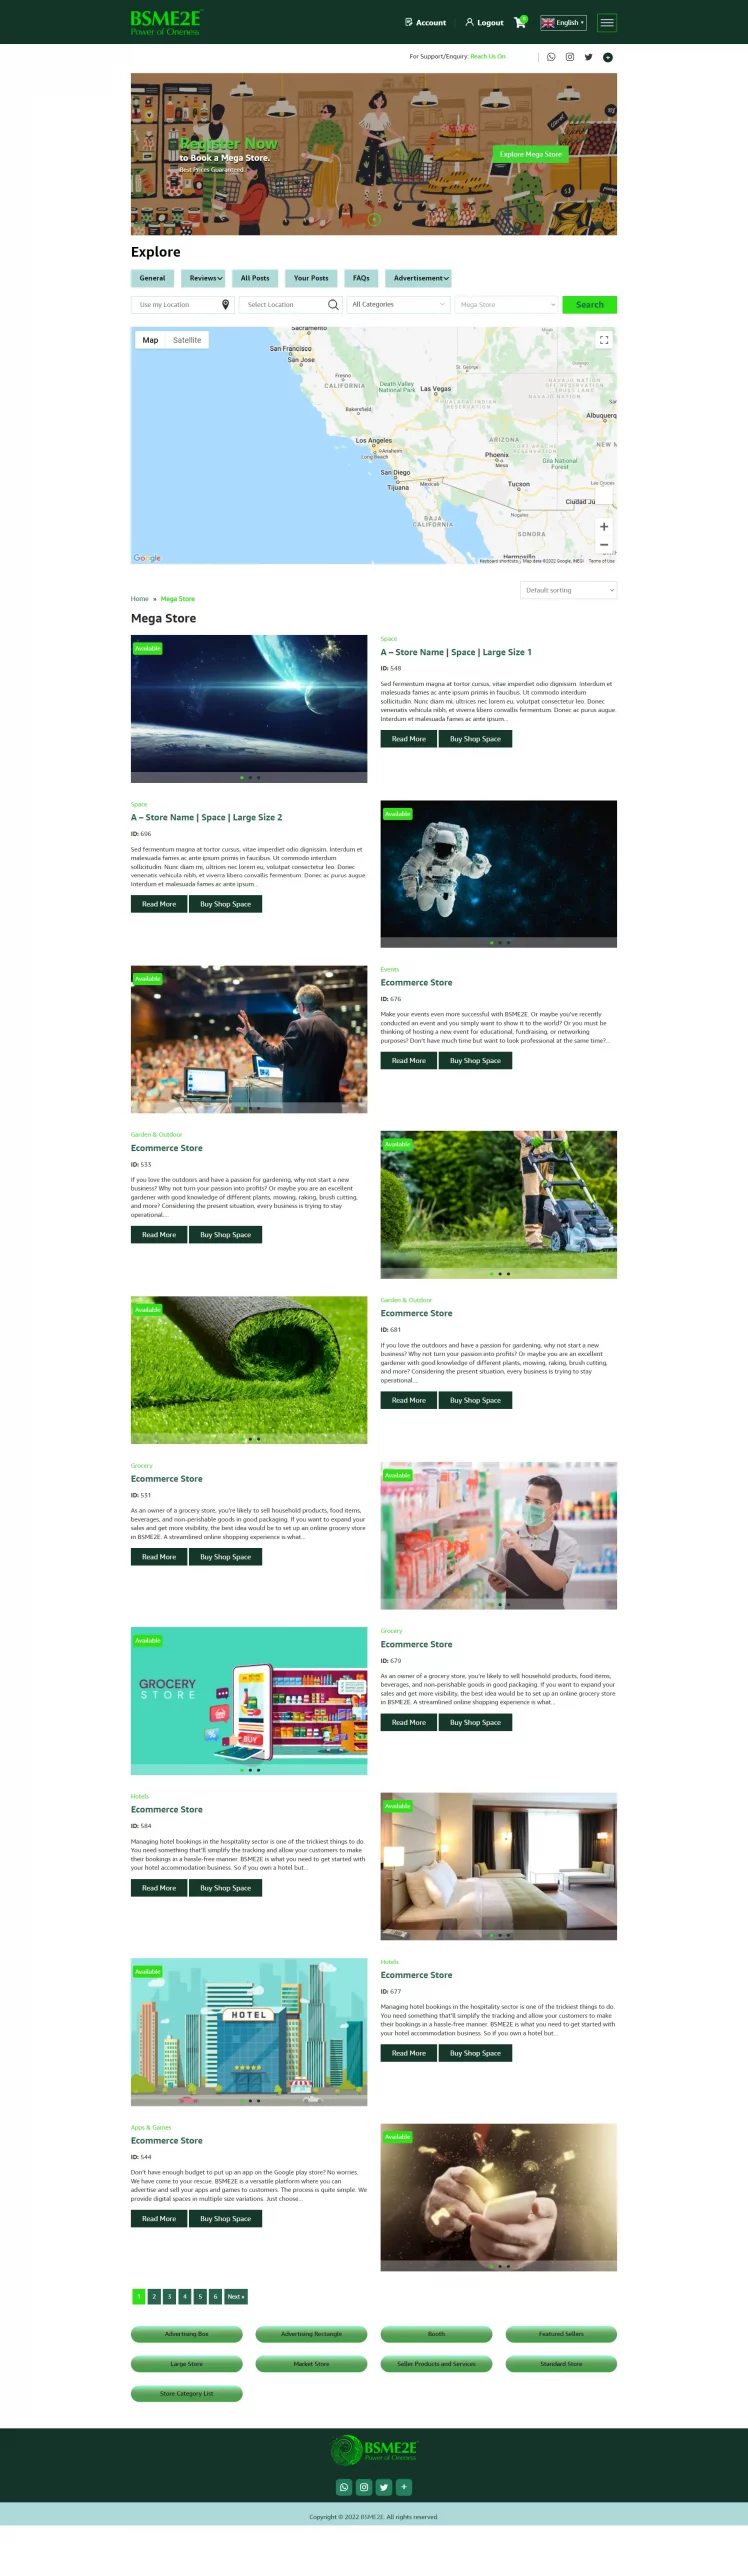
You’ll be taken to a new page – ‘Our Digital Spaces’. We have eight digital store spaces which are as follows:
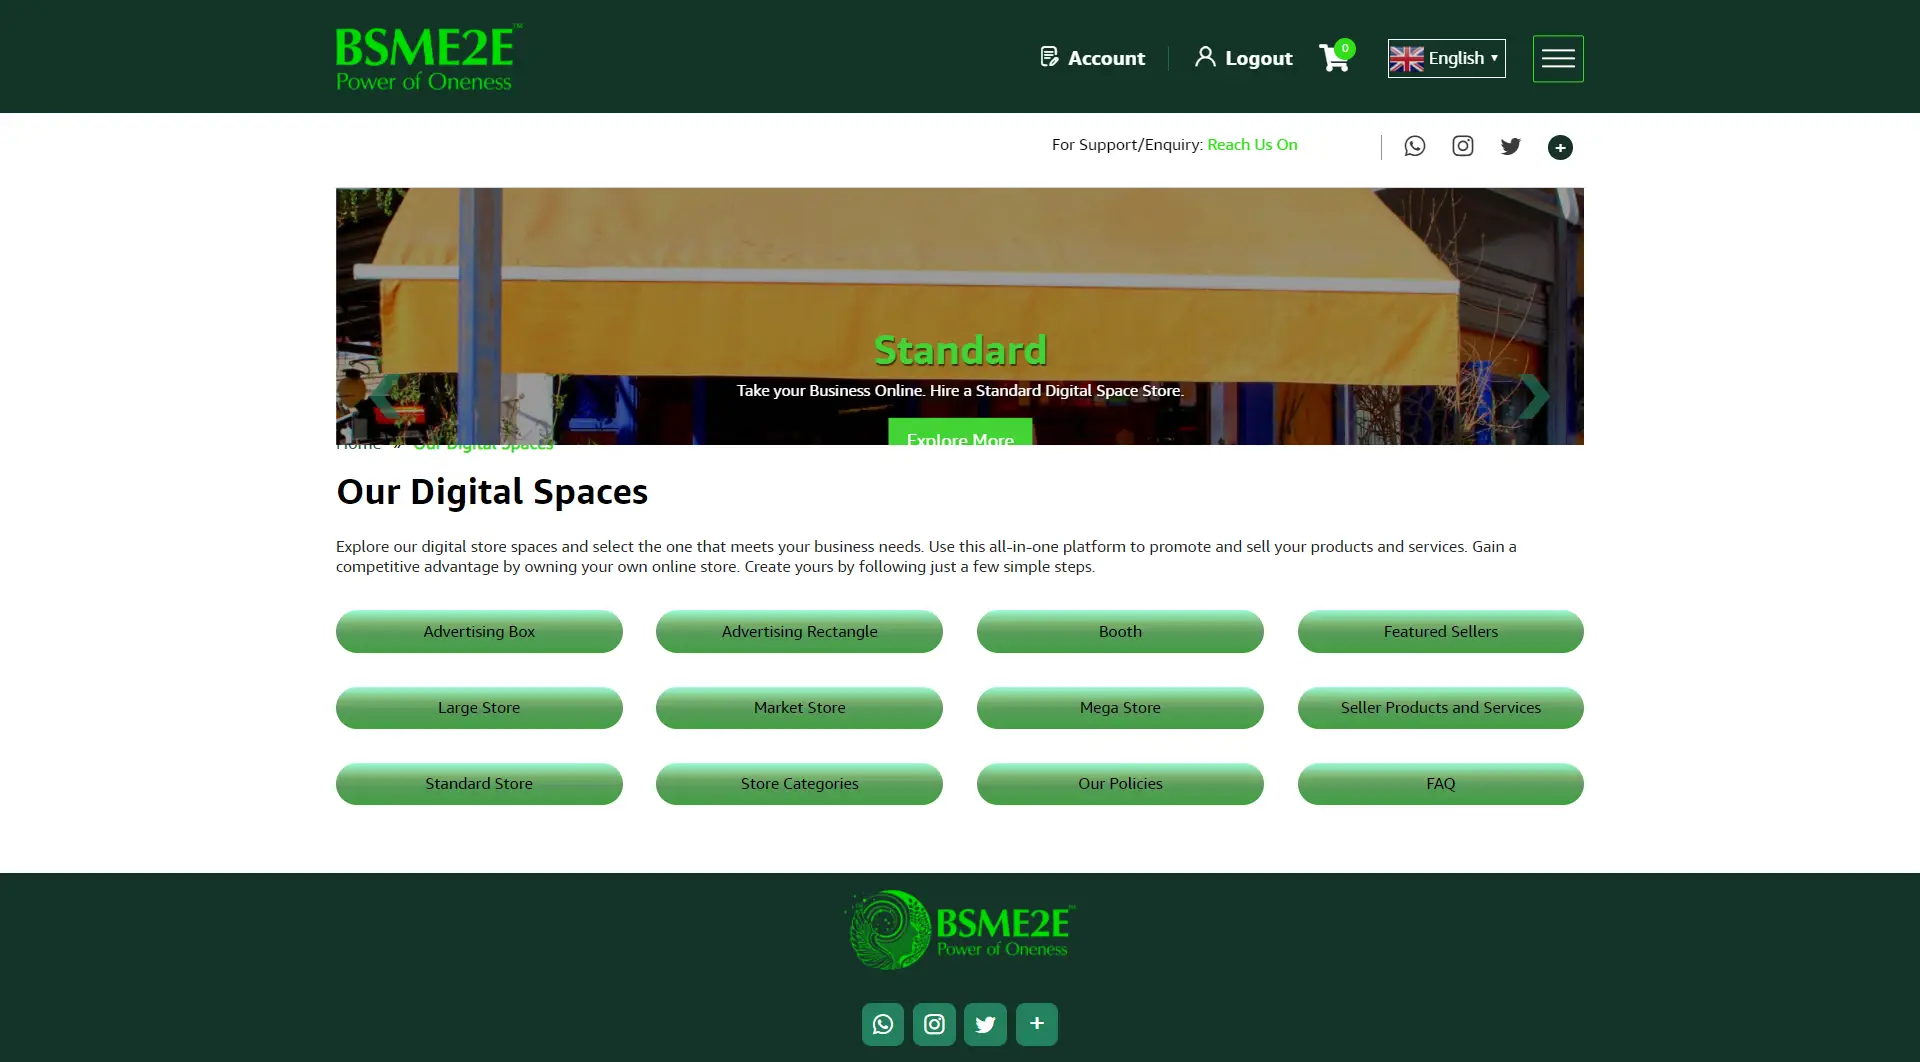
Visit each of the spaces to know about their description. Based on your requirement, you can buy a digital space. Below we have shown you the image of each of the digital stores.


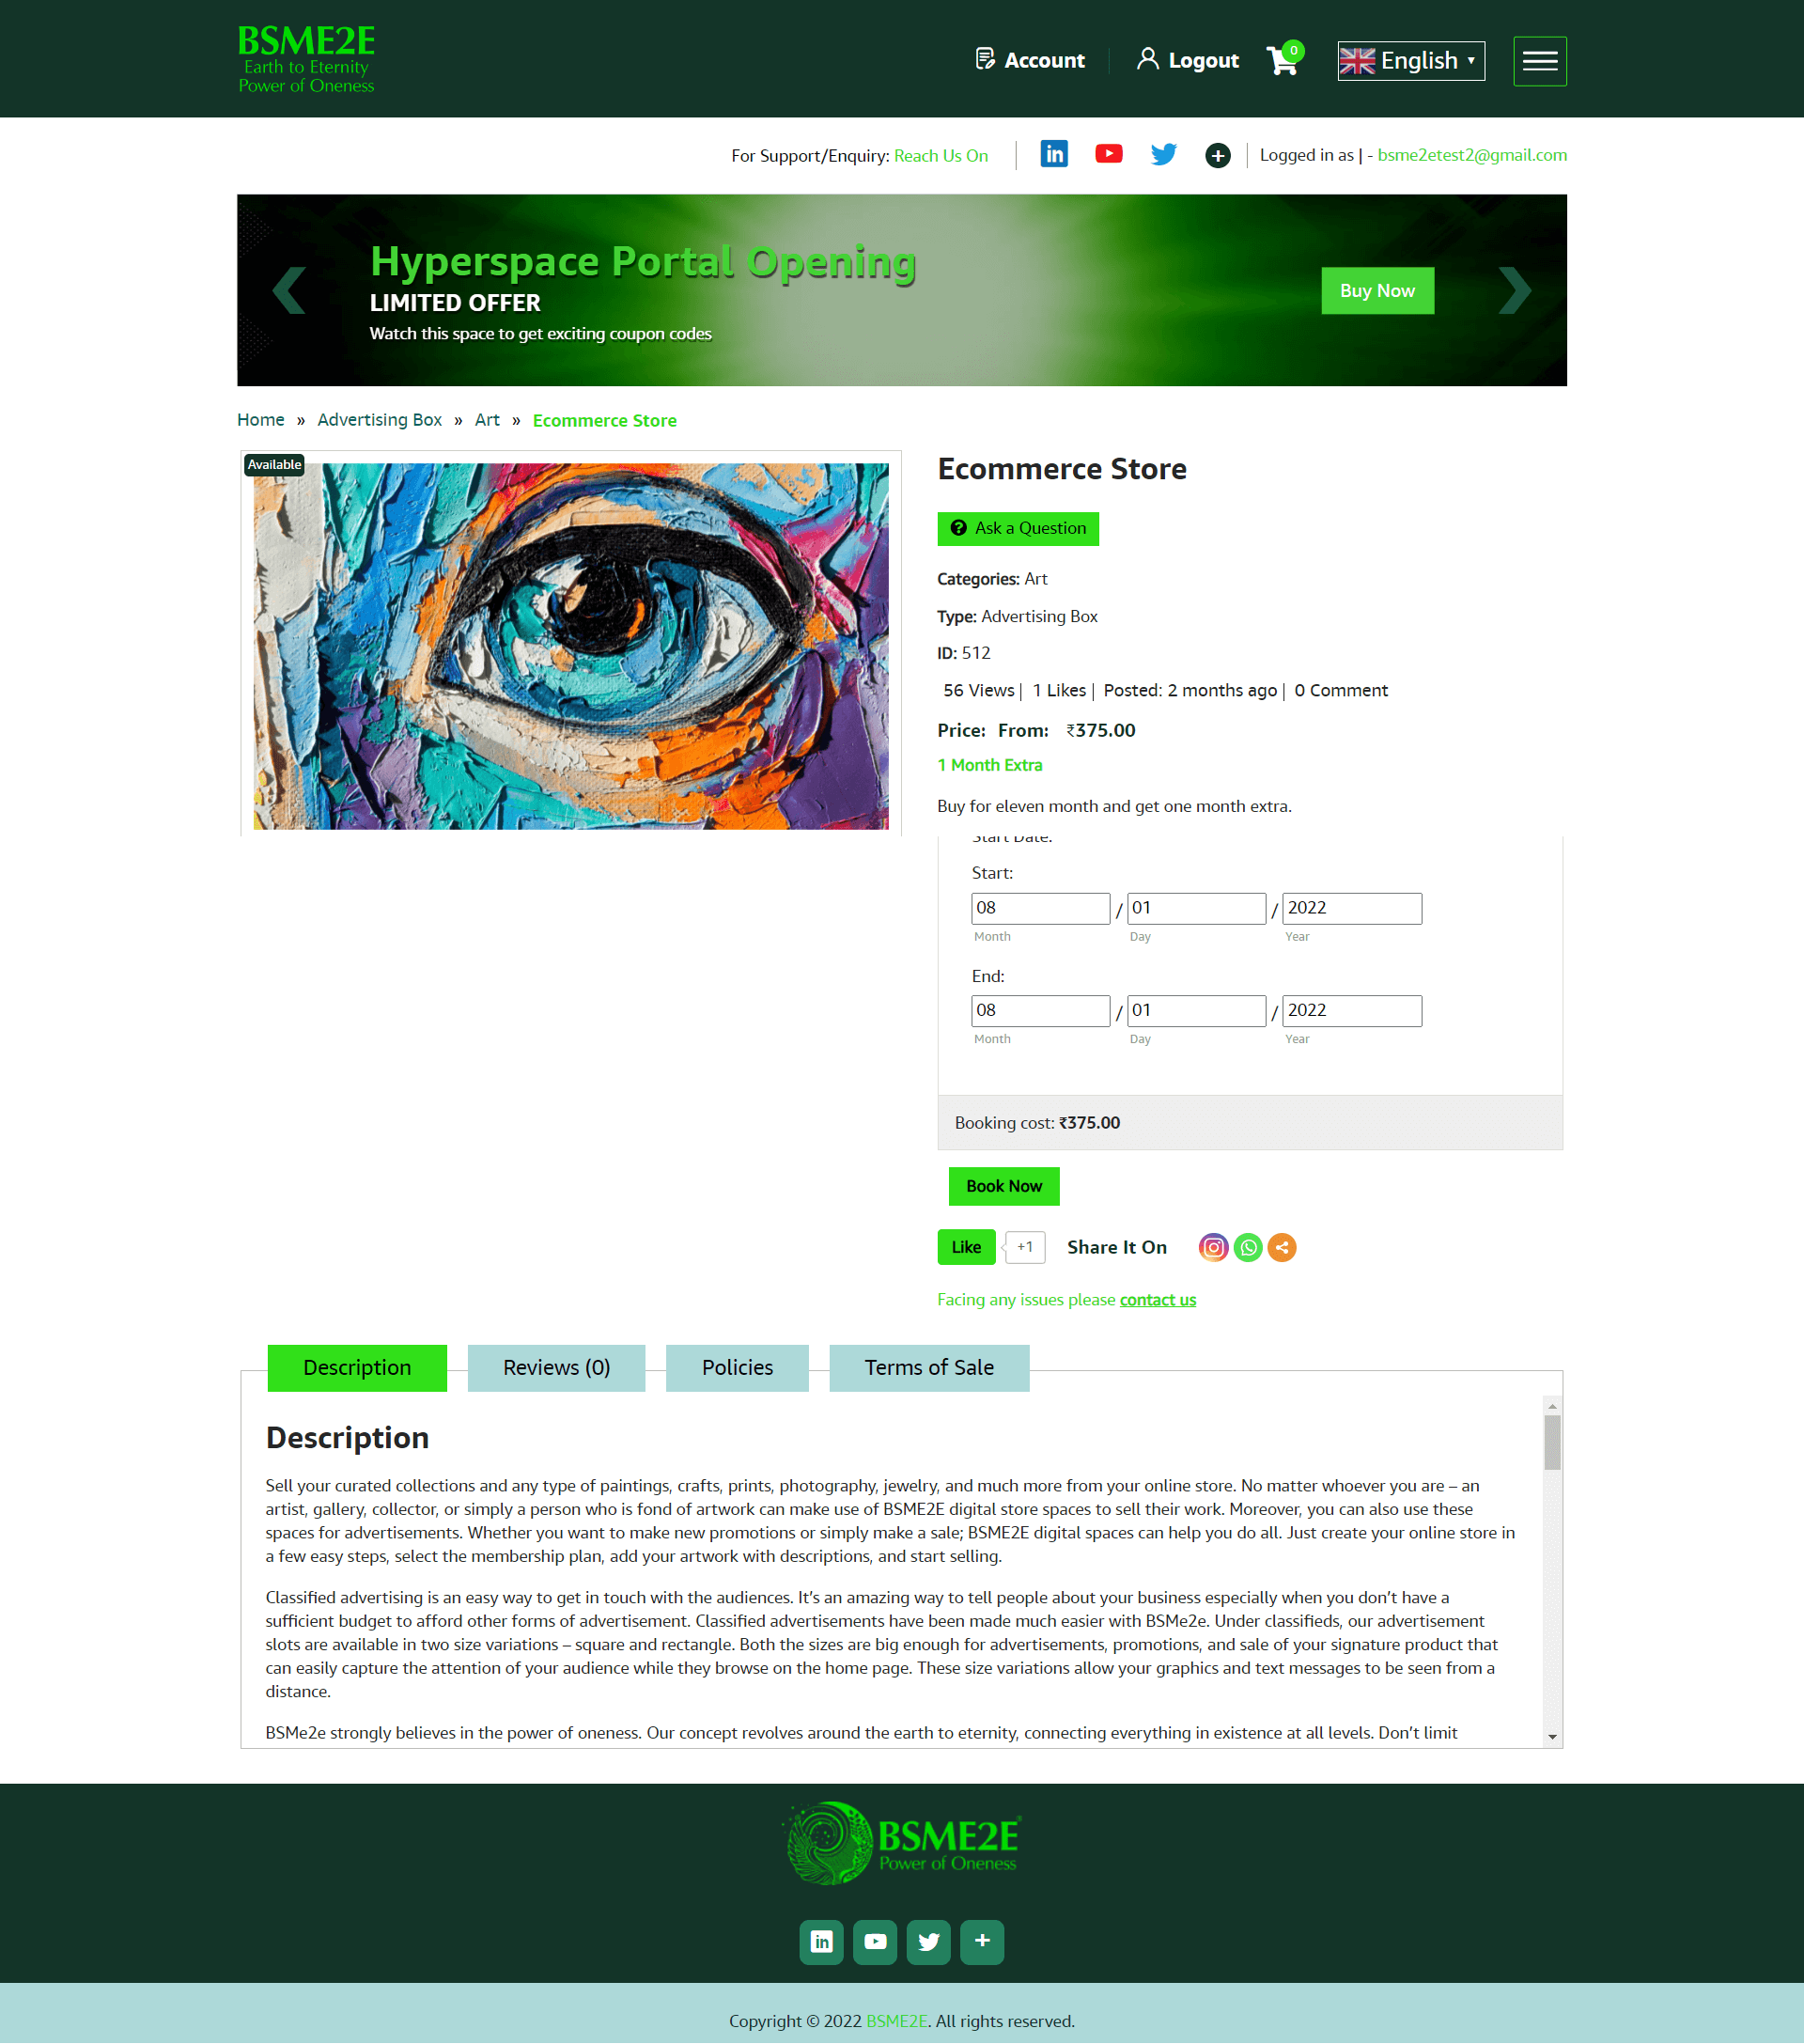
In this manual guide, we have purchased the ‘art’ ecommerce store and the store type is standard store. Refer to the image below.

Choose the duration of your store space and click on ‘book now’. It can be few days or months. In this, we have selected the duration for one month. The booking cost will vary based on the store space and the selected duration.
The item has been added to your cart as shown in the image below.
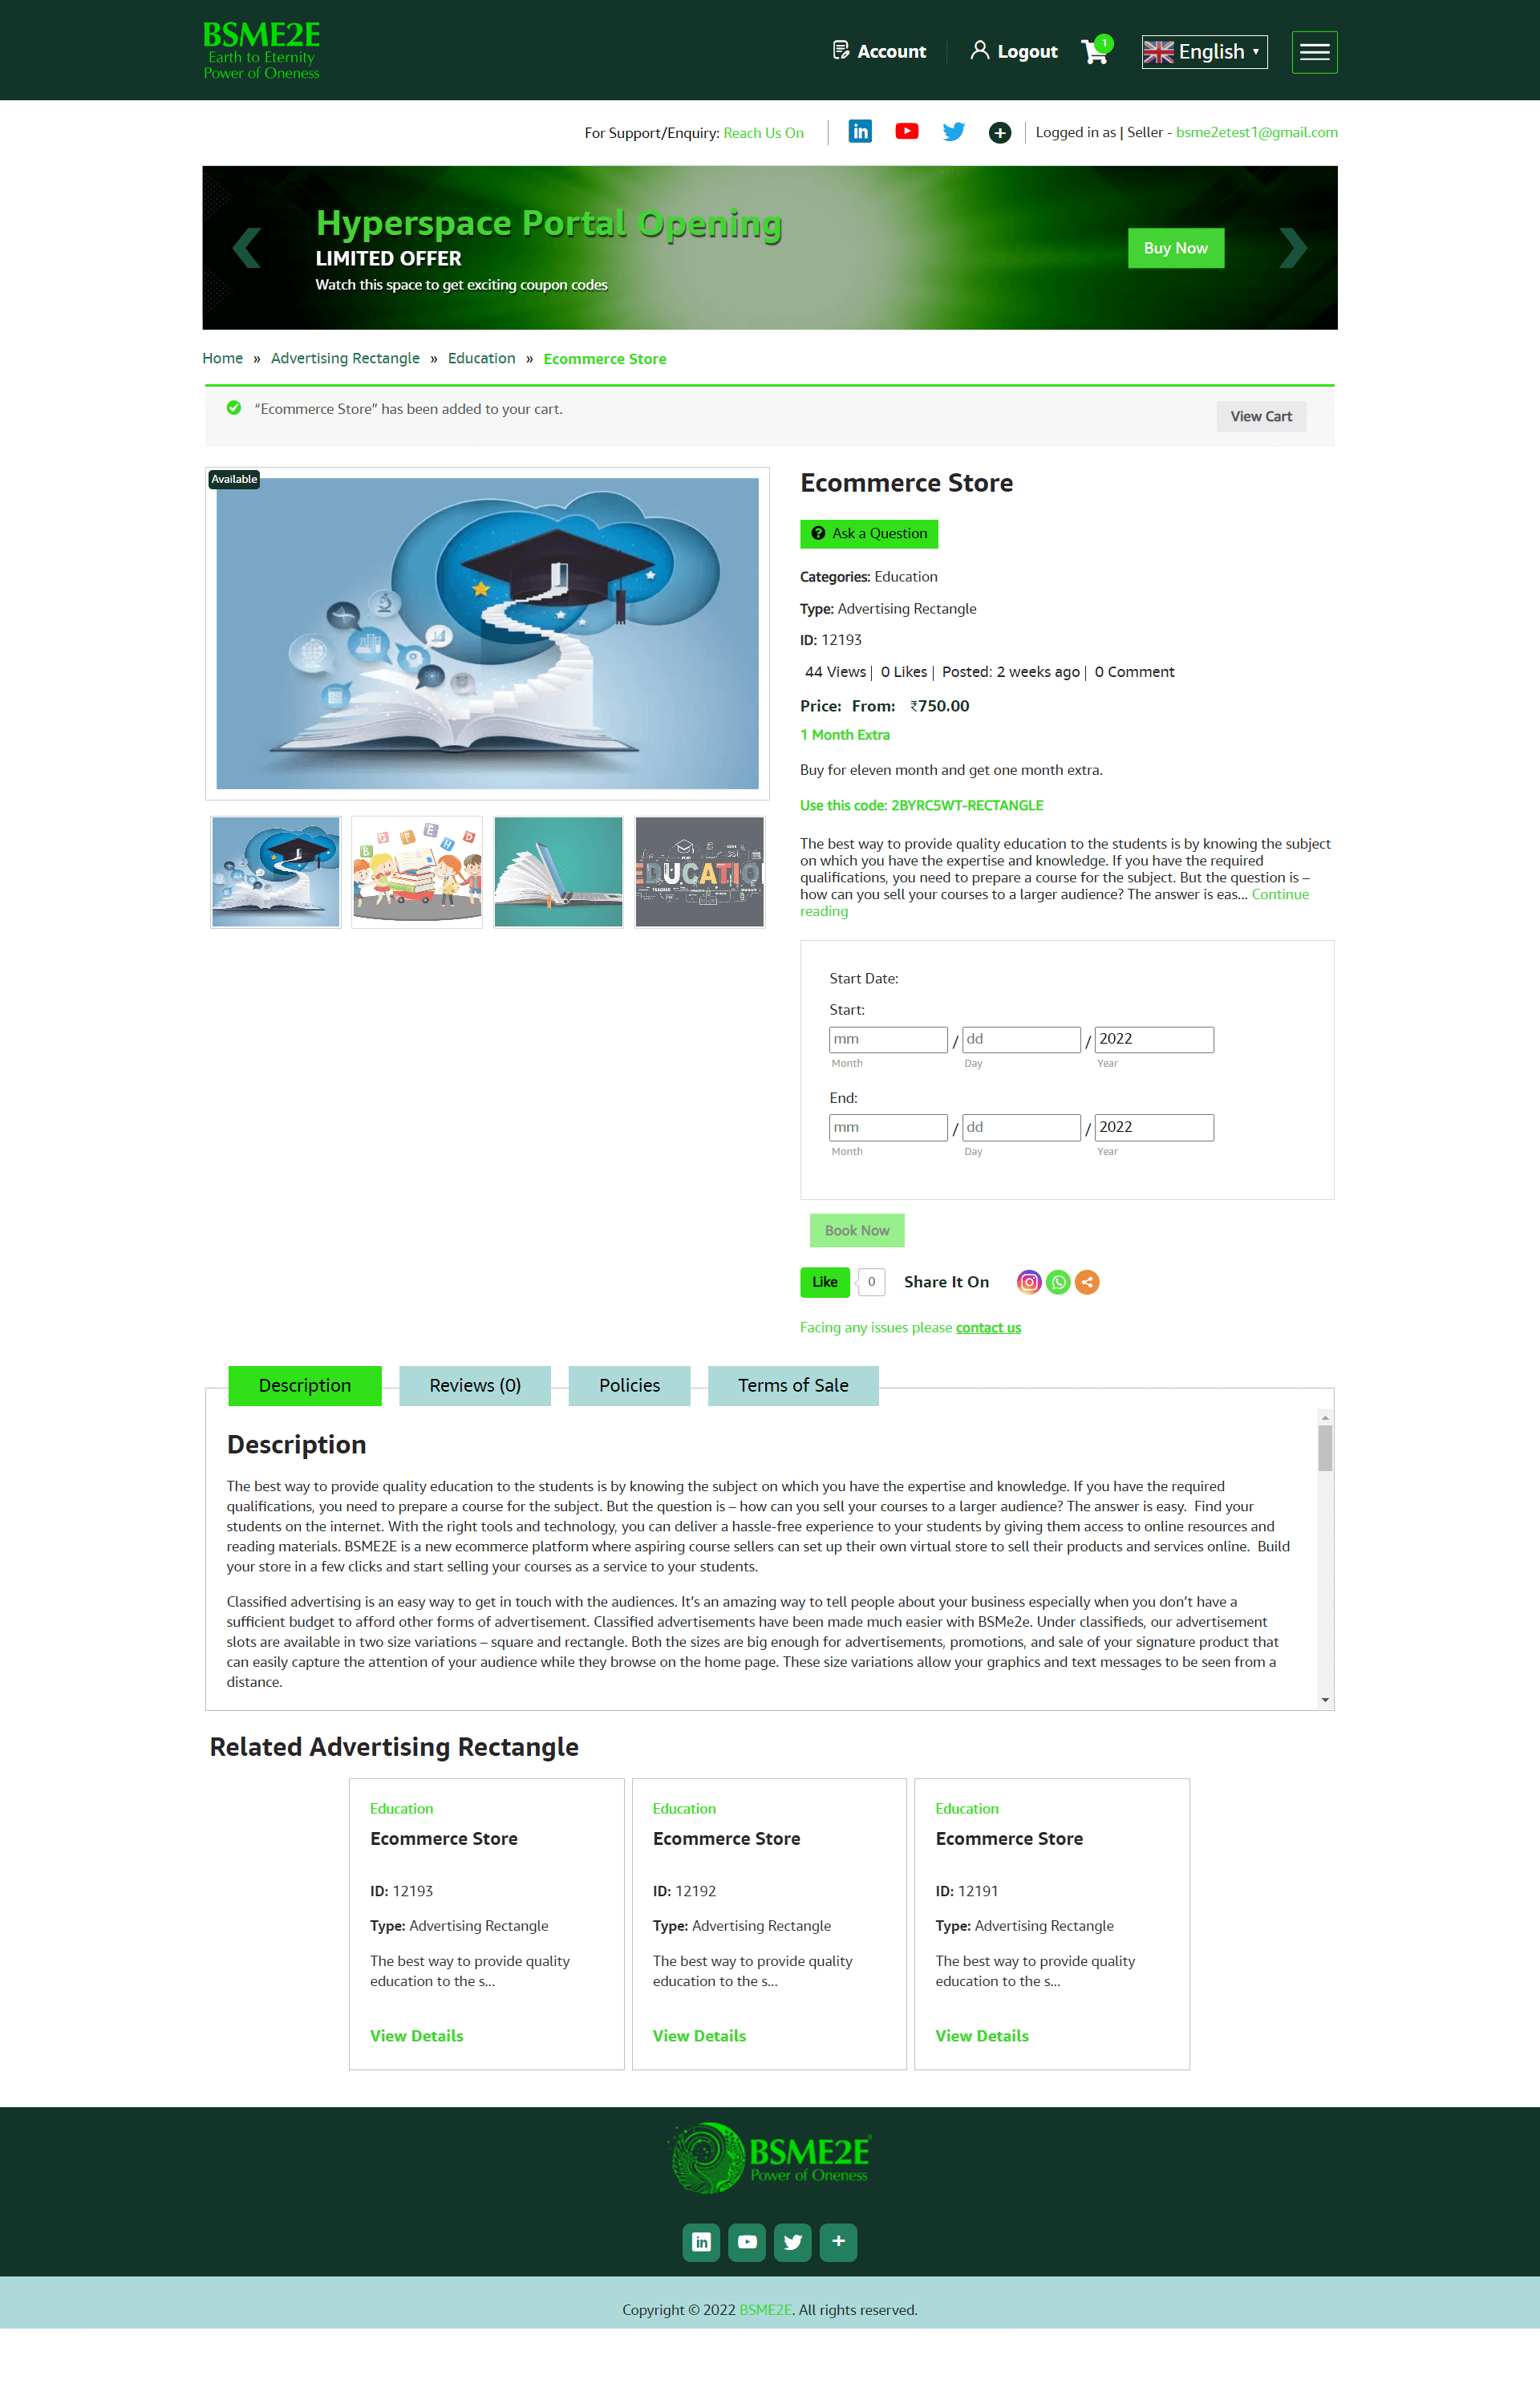
Now click on the ‘cart’ option. You’ll be redirected to the page as shown below. Go through the purchase policies before making the final purchase.
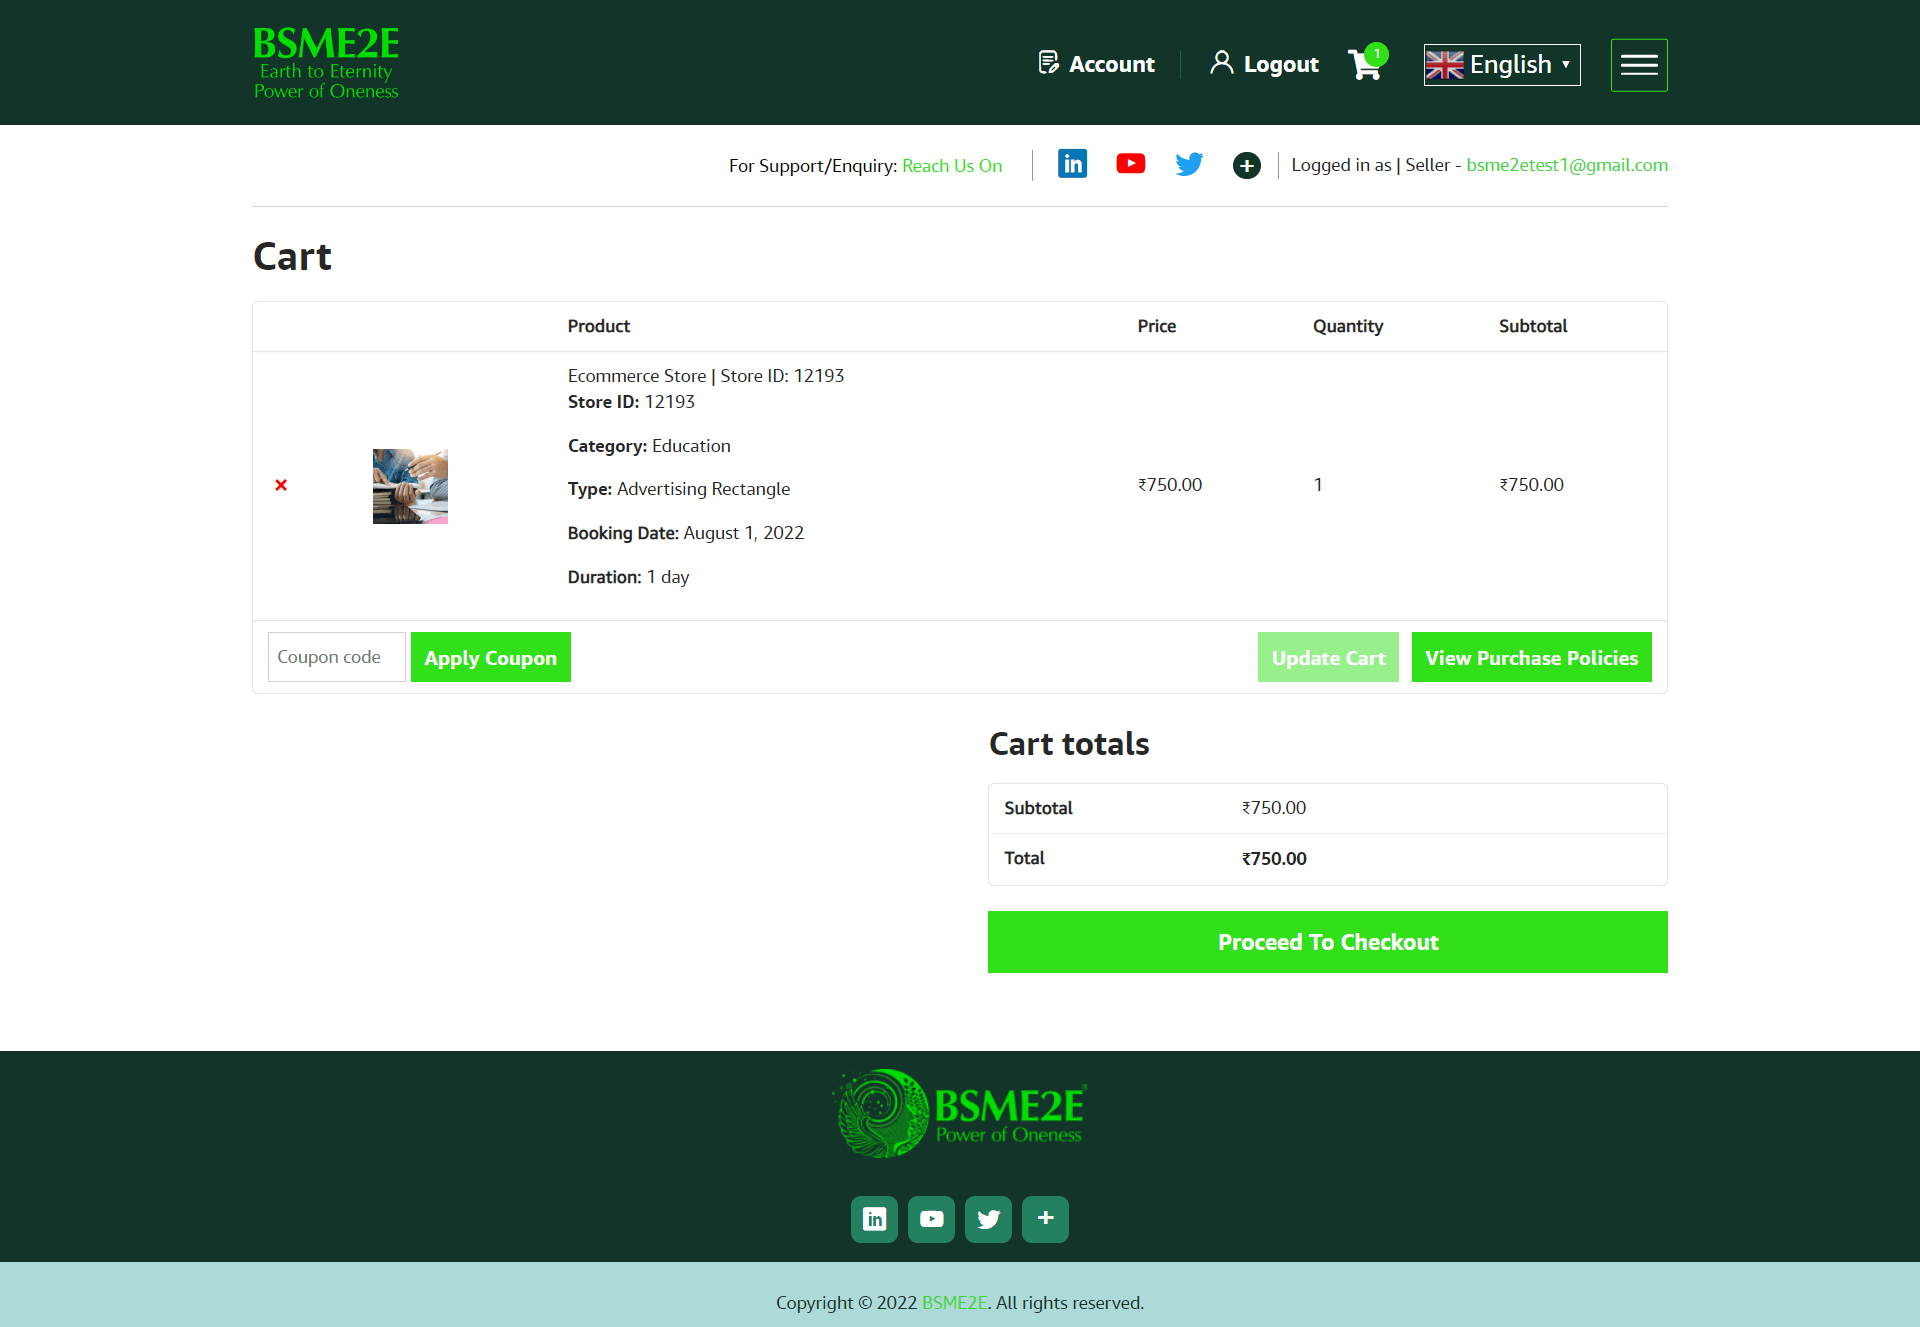
Once done, you can proceed to checkout. You’ll be redirected to the checkout page.

We have credit card, debit card, and UPI as payment options. You can select your convenient payment mode for completing the transaction. Add all the required details and click on ‘place order’.

Once your transaction is complete, your store purchase will be successful.
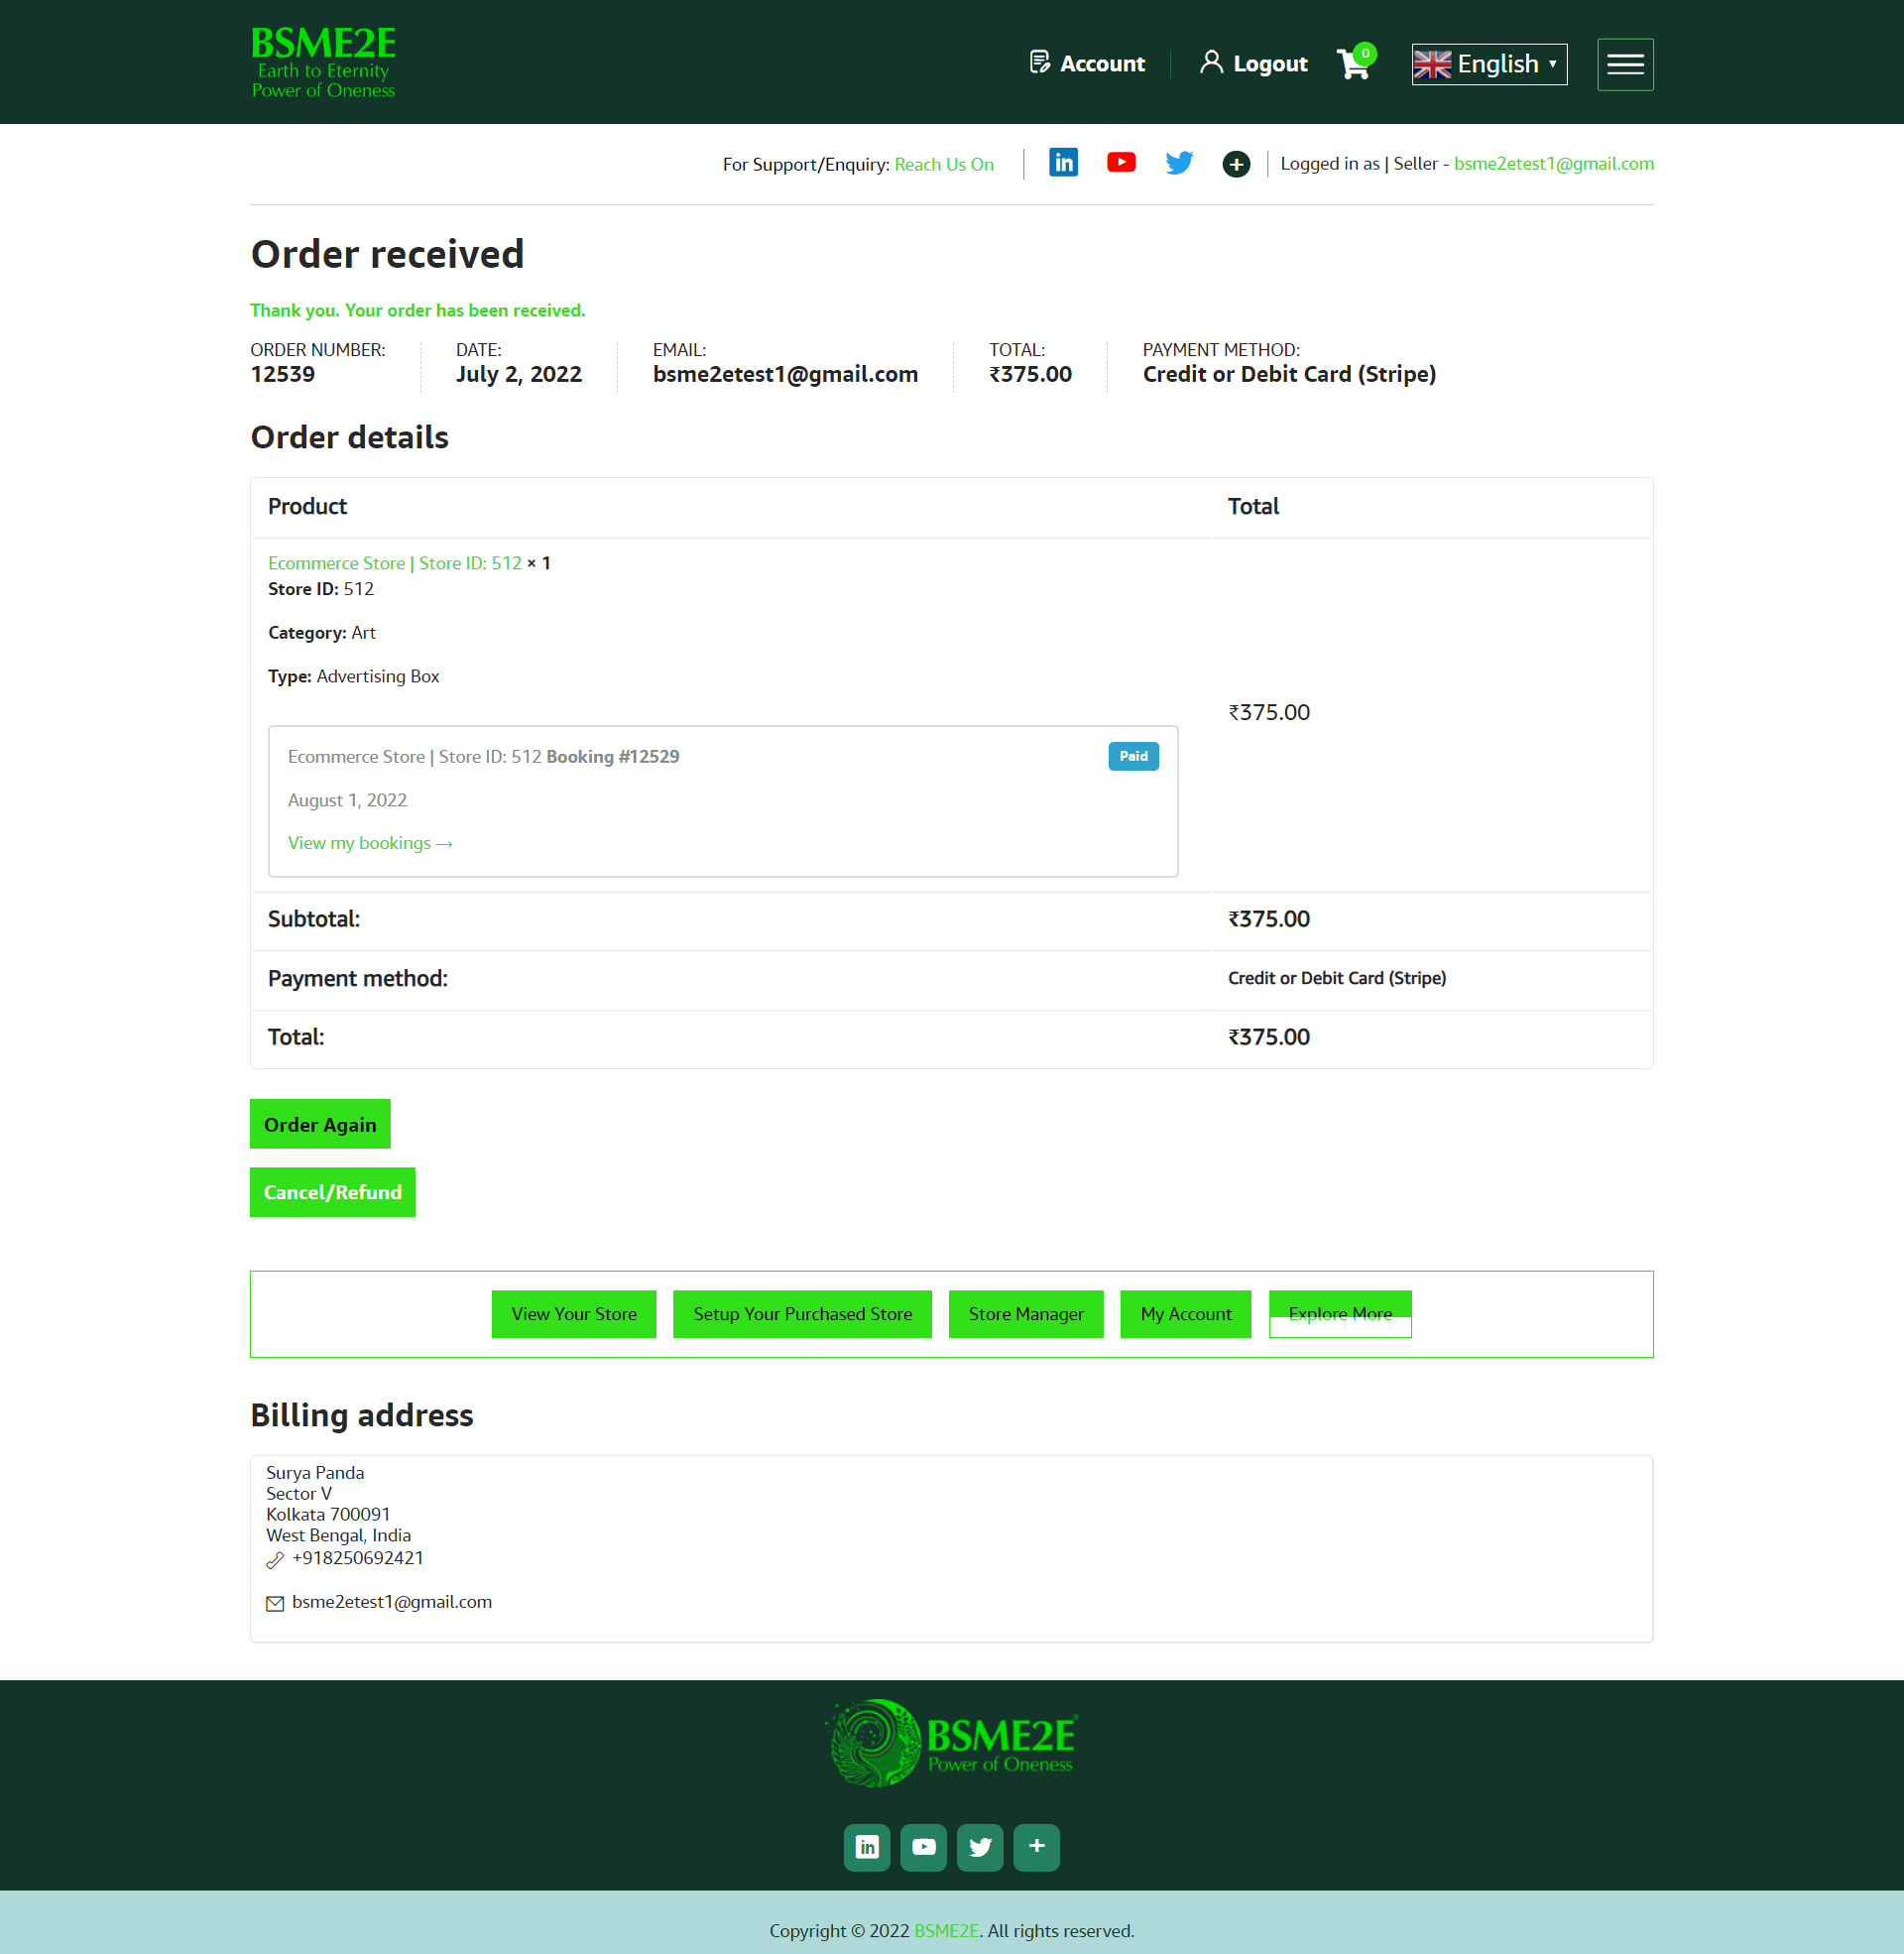
The store purchase is now under process. It will be reviewed by the admin and once approved, your store will be activated.
Once the store is activated, the seller can add products, integrate social media profiles, set their store rules, and much more! Enjoy selling.
To know more about the features and functionality of our website, refer to the links below.